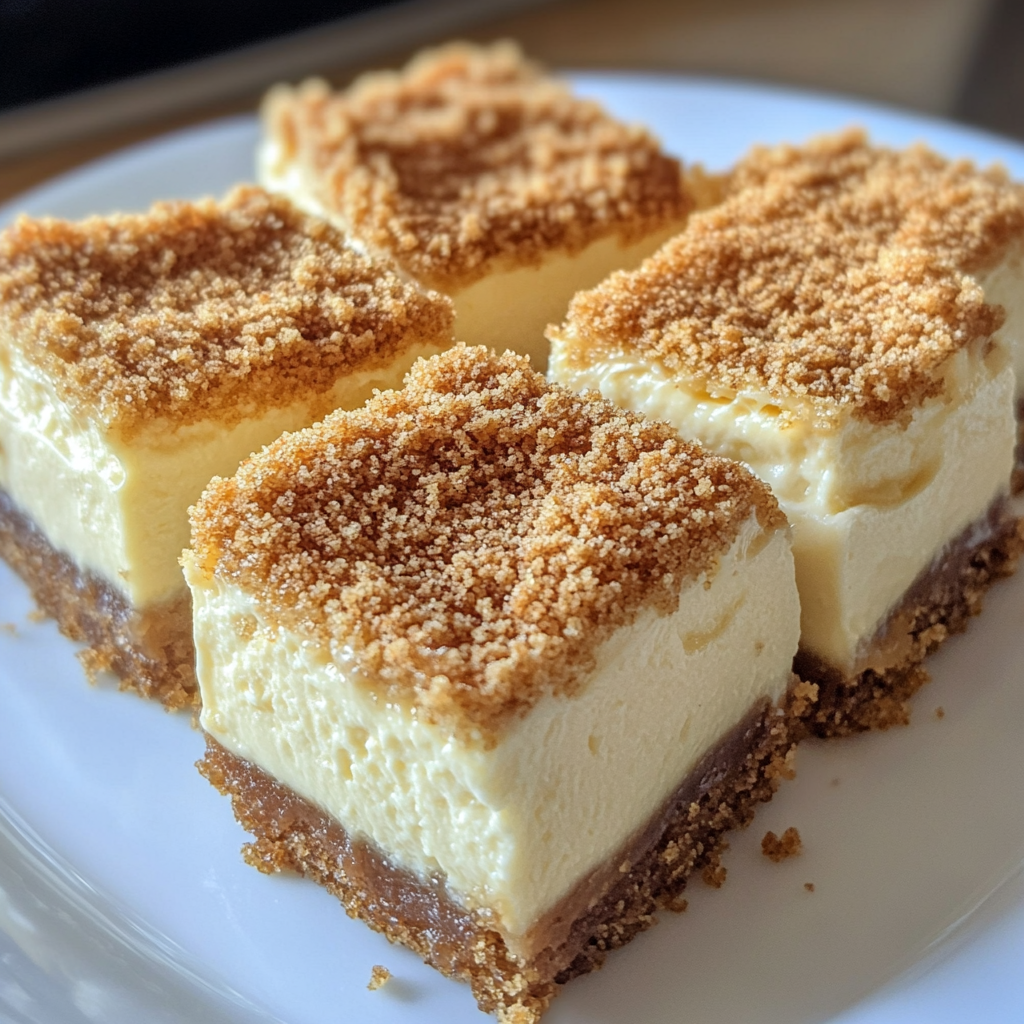
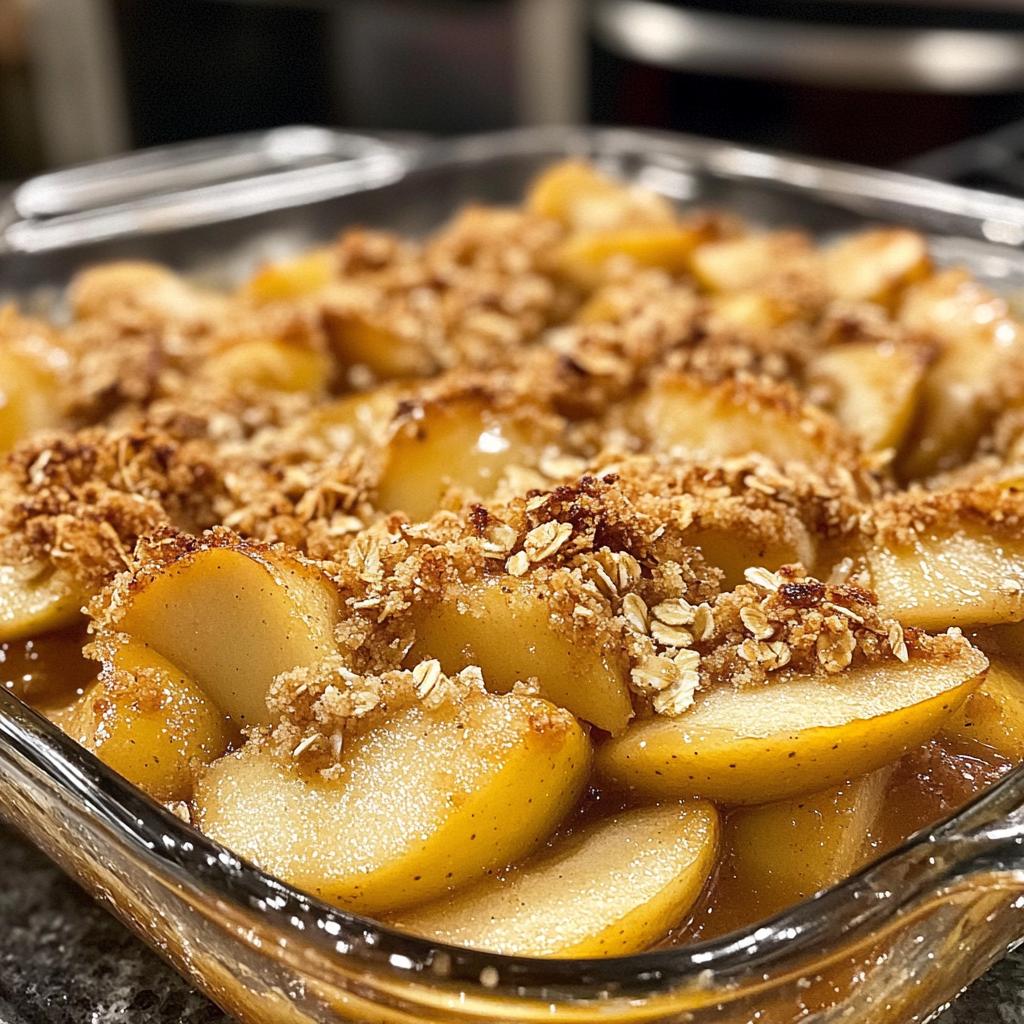
There’s something truly magical about baking that fills my heart with joy. The aroma wafting through the kitchen, the anticipation of sharing something delicious with loved ones—it’s a feeling like no other. And when it comes to my go-to dessert, nothing beats the warm, comforting taste of apple crisp baked apples. Picture this: tender, sweet apples enveloped in a crispy oat topping that’s just the right amount of crunchy. It’s like a cozy hug on a plate!
I can still remember the first time I made this dish for a family gathering. My aunt had just returned from a trip, and I wanted to create something special to welcome her back. As soon as I pulled the baked apples from the oven, the entire house filled with that delightful cinnamon and brown sugar aroma. My family gathered around, and as we dug in, I could see the smiles on everyone’s faces. It’s moments like these that make cooking so rewarding. Now, I whip up this recipe for every holiday and get-together, and trust me, it never fails to impress! So, let’s dive into this easy and scrumptious recipe together.
Ingredients List
- 4 medium apples, cored and sliced
- 1 cup rolled oats
- 1/2 cup brown sugar
- 1/2 cup all-purpose flour
- 1/2 cup butter, melted
- 1 teaspoon ground cinnamon
- 1/4 teaspoon ground nutmeg
- 1/4 teaspoon salt
How to Prepare apple crisp baked apples
Step 1: Preheat the Oven
First things first—let’s get that oven preheated to 350°F (175°C). This step is crucial because it ensures that your apple crisp bakes evenly and perfectly from the get-go. I like to set my timer for a good 10-15 minutes to give it ample time to warm up while I prep the ingredients. Just a quick safety tip: make sure the oven rack is in the center position so your dessert doesn’t get too close to the heating elements!
Step 2: Mix the Oat Topping
Now, let’s create that mouthwatering oat topping! In a mixing bowl, combine 1 cup of rolled oats, 1/2 cup of brown sugar, 1/2 cup of flour, and 1 teaspoon of ground cinnamon. I love how the cinnamon adds that warm, cozy aroma. Pour in the 1/2 cup of melted butter and mix everything together until it resembles a crumbly texture. You want it to be slightly clumpy but still crumbly enough to spread easily over the apples. Trust me, the texture is key for that perfect crunch!
Step 3: Prepare the Apples
Next up, let’s get those apples ready! I recommend using tart apples like Granny Smith for the best flavor. Start by coring and slicing 4 medium apples into thin wedges—about 1/4 inch thick works well. You want them to be tender yet hold their shape while baking. Once sliced, arrange the apples in a greased baking dish, making sure to cover the bottom evenly. It’s like creating a cozy bed for your crispy topping!
Step 4: Assemble the Dish
Now comes the fun part—assembly! Sprinkle the oat mixture evenly over the apples, ensuring every slice gets a fair share of that crispy goodness. I like to use my hands here; it helps to gently press it down just a bit to ensure it sticks to the apples. Just look for a nice, even layer that covers all the apples—no apple slice left behind, right?
Step 5: Baking Instructions
Pop that baking dish into your preheated oven and let it work its magic for about 30-35 minutes. You’ll want to keep an eye on it! The apples should become tender, and the topping will turn a golden brown. A little tip: if you notice the topping browning too quickly, you can cover it lightly with foil to prevent burning. When it’s done, you can do the classic poke test—just gently press on the topping; it should feel firm and crunchy!
Step 6: Serving Suggestions
Once it’s out of the oven, let it cool for a few minutes (if you can wait that long!) and then serve it warm. I highly recommend adding a scoop of vanilla ice cream on top—it melts just perfectly into those warm apples and makes each bite heavenly! You can also drizzle a bit of caramel sauce if you’re feeling extra indulgent. Trust me, this dessert is a crowd-pleaser that’ll have everyone asking for seconds!
Nutritional Information
Here’s a quick look at the typical nutritional values for one serving of these delightful apple crisp baked apples. Keep in mind that these numbers are estimates and can vary based on the specific ingredients you use:
- Calories: 250
- Fat: 10g
- Saturated Fat: 6g
- Unsaturated Fat: 4g
- Trans Fat: 0g
- Cholesterol: 20mg
- Sodium: 150mg
- Carbohydrates: 39g
- Fiber: 3g
- Protein: 3g
- Sugar: 15g
These baked apples not only satisfy your sweet tooth but also provide a lovely balance of flavors and textures. Enjoy every bite knowing you’re treating yourself to a delicious dessert!
FAQ Section
Can I use different types of apples?
Absolutely! While I love using Granny Smith apples for their tartness, you can experiment with other varieties too. Honeycrisp or Fuji apples work wonderfully if you prefer a sweeter flavor. Just keep in mind that different apples have different textures. You want apples that hold up well during baking, so stay away from super soft varieties like Red Delicious. Mixing a couple of types can also add a delightful complexity to your apple crisp!
How do I store leftovers?
If you happen to have any leftovers (which is rare in my house!), you can store them in an airtight container in the refrigerator for up to 3 days. Just make sure to let the apple crisp cool completely before sealing it up. When you’re ready to enjoy it again, you can pop it back in the oven at 350°F (175°C) for about 10-15 minutes until it’s warmed through. It’ll taste almost as good as when it was freshly baked!
Can I make this recipe vegan?
You bet! To make this apple crisp baked apples recipe vegan, simply swap out the butter for your favorite plant-based butter or coconut oil. For the brown sugar, you can use coconut sugar or maple syrup to keep it natural. Just remember that if you’re using a liquid sweetener like maple syrup, you might want to reduce the amount of melted butter slightly to maintain that crumbly texture. With these simple swaps, you can enjoy a delicious vegan version of this classic dessert!
Why You’ll Love This Recipe
- Quick and Easy: This apple crisp baked apples recipe comes together in no time! With just a few simple steps, you can have a warm, delicious dessert ready to serve in under an hour.
- Simple Ingredients: You likely already have most of the ingredients in your pantry! It’s all about wholesome, everyday items like apples, oats, and brown sugar that create an incredibly satisfying dish.
- Unforgettable Flavor: The combination of sweet, tender apples paired with that crunchy oat topping is simply irresistible. The warm spices like cinnamon and nutmeg make it feel like a cozy hug on a chilly day!
- Versatile Dessert: Whether it’s a holiday gathering or a simple family dinner, this dish fits right in. You can serve it as is or dress it up with vanilla ice cream or caramel sauce for that extra special touch.
- Healthy-ish Indulgence: Apples are packed with fiber and nutrients, making this dessert a satisfying treat that doesn’t feel too guilty. It’s a way to enjoy something sweet while still feeling good about it!
Tips for Success
Getting the most out of your apple crisp baked apples is all about a few key tips that ensure every bite is just as delicious as the last. Trust me; these little nuggets of wisdom can make a big difference!
Choose the Right Apples
As I mentioned earlier, opting for tart apples like Granny Smith is a game changer. Their acidity balances out the sweetness of the brown sugar and oats beautifully. If you can, mix a couple of varieties to enhance the flavor profile! Honeycrisp adds a nice sweetness, while Fuji can give you that perfect crunch. Just be sure to avoid overly soft apples; you want your apples to hold their shape while baking!
Don’t Skip the Oats
For that perfect crispy topping, make sure your oats are fresh. Old oats can lose their crunch and flavor. When mixing the oat topping, aim for a crumbly texture that’s a bit clumpy. This will create those delicious crispy bits that you’ll crave! And don’t be shy with the cinnamon—it adds an irresistible aroma and flavor that ties the whole dish together.
Check for Doneness
While baking, keep an eye on your crisp! The apples should be tender but not mushy, and the topping should be golden brown. If the topping is browning too quickly, just cover it lightly with foil. I usually do a little poke test to feel if the topping is firm and crispy; it should spring back when you press it!
Let It Rest
After you pull it out of the oven, give your apple crisp a few minutes to rest before serving. This helps the flavors meld together beautifully and makes it easier to scoop out portions. You want that warm, gooey goodness without it falling apart completely!
Experiment with Toppings
Don’t be afraid to get creative with your toppings! While I love a scoop of vanilla ice cream, you can also try whipped cream, yogurt, or even a drizzle of caramel sauce. A sprinkle of chopped nuts can add a delightful crunch, too! The possibilities are endless, and this dessert is a canvas for your creativity.
With these tips in hand, you’re all set to whip up the most delightful apple crisp baked apples that will have everyone coming back for seconds. Happy baking!
Variations
The beauty of apple crisp baked apples is that it’s incredibly versatile! You can easily customize this recipe to suit your taste or to use up ingredients you have on hand. Here are some fun variations to consider:
Add Nuts for Extra Crunch
If you love a bit of crunch, try adding some chopped nuts to your oat topping! Pecans or walnuts are fantastic choices—they bring a lovely nuttiness that complements the sweetness of the apples. Just mix in about 1/2 cup of your favorite nuts when you’re combining the oat topping ingredients. It adds texture and flavor that’ll have everyone raving!
Spice It Up
Want to change up the flavor profile? Feel free to experiment with different spices! In addition to the classic cinnamon and nutmeg, you can add a pinch of allspice or cardamom for a warm, fragrant twist. I’ve even tried a hint of ginger, and it was delightful! Just a sprinkle can elevate the dish and make it feel extra special.
Mix in Other Fruits
Why stop at apples? You can incorporate other fruits for a mixed fruit crisp! Berries, such as blueberries or raspberries, add a burst of color and tartness that pairs beautifully with the sweet apples. You can mix in a cup of berries when you layer the apples in the baking dish. Just be mindful of the moisture they add; you might want to reduce the melted butter slightly to ensure the topping stays crisp.
Try Different Sweeteners
If you’re looking for a healthier alternative, you can substitute the brown sugar with maple syrup or honey. Just remember that since these are liquid sweeteners, you might need to adjust the amount of melted butter to maintain that crumbly oat topping. It’s a great way to infuse a different flavor, too!
Use a Different Grain
Feeling adventurous? Swap out the rolled oats for an alternative grain like quinoa or almond flour for a gluten-free option. Just make sure to adjust the quantities accordingly, as these grains will behave differently in the baking process. This adds a unique twist to the traditional recipe while still keeping it delicious!
With these variations, you can easily make this apple crisp baked apples recipe your own, ensuring it’s always a hit no matter the occasion. Enjoy experimenting and finding your perfect combination!
Storage & Reheating Instructions
If you find yourself with any leftover apple crisp baked apples (which is rare in my house!), storing them properly is key to keeping that deliciousness intact. Start by letting the dish cool completely at room temperature. Once it’s cool, transfer the leftovers to an airtight container. I like using glass containers because they help retain moisture and flavor, but plastic works too if that’s what you have on hand.
Be sure to cover the container tightly to prevent any air from getting in. You can store your apple crisp in the refrigerator for up to 3 days. If you want to keep it longer, you can freeze it! Just double-wrap it in plastic wrap and then in aluminum foil, or use a freezer-safe container. It should stay good for about 2-3 months, though I doubt it’ll last that long!
When it’s time to enjoy your leftovers, reheating is super simple. If you’re going for the oven method, preheat it to 350°F (175°C) and place the apple crisp in an oven-safe dish. Cover it loosely with foil to keep it from drying out and bake for about 10-15 minutes or until warmed through. You can also pop it in the microwave for a quicker option—just use a microwave-safe dish and heat in 30-second intervals until it’s hot and ready to enjoy.
Trust me, a little bit of warming brings back that cozy, fresh-baked vibe, making every bite feel like it just came out of the oven. Enjoy your delicious apple crisp baked apples all over again!
Print
Apple Crisp Baked Apples: 5 Steps to Pure Bliss
- Total Time: 50 minutes
- Yield: 4 servings 1x
- Diet: Vegetarian
Description
A delicious dessert featuring baked apples topped with a crispy oat mixture.
Ingredients
- 4 medium apples, cored and sliced
- 1 cup rolled oats
- 1/2 cup brown sugar
- 1/2 cup flour
- 1/2 cup butter, melted
- 1 teaspoon cinnamon
- 1/4 teaspoon nutmeg
- 1/4 teaspoon salt
Instructions
- Preheat oven to 350°F (175°C).
- In a bowl, mix oats, brown sugar, flour, melted butter, cinnamon, nutmeg, and salt.
- Place sliced apples in a baking dish.
- Spread the oat mixture evenly over the apples.
- Bake for 30-35 minutes until apples are tender and topping is golden brown.
- Serve warm.
Notes
- Use tart apples for best flavor.
- Serve with ice cream for added sweetness.
- Store leftovers in the refrigerator.
- Prep Time: 15 minutes
- Cook Time: 35 minutes
- Category: Dessert
- Method: Baking
- Cuisine: American
Nutrition
- Serving Size: 1 serving
- Calories: 250
- Sugar: 15g
- Sodium: 150mg
- Fat: 10g
- Saturated Fat: 6g
- Unsaturated Fat: 4g
- Trans Fat: 0g
- Carbohydrates: 39g
- Fiber: 3g
- Protein: 3g
- Cholesterol: 20mg
Keywords: apple crisp baked apples