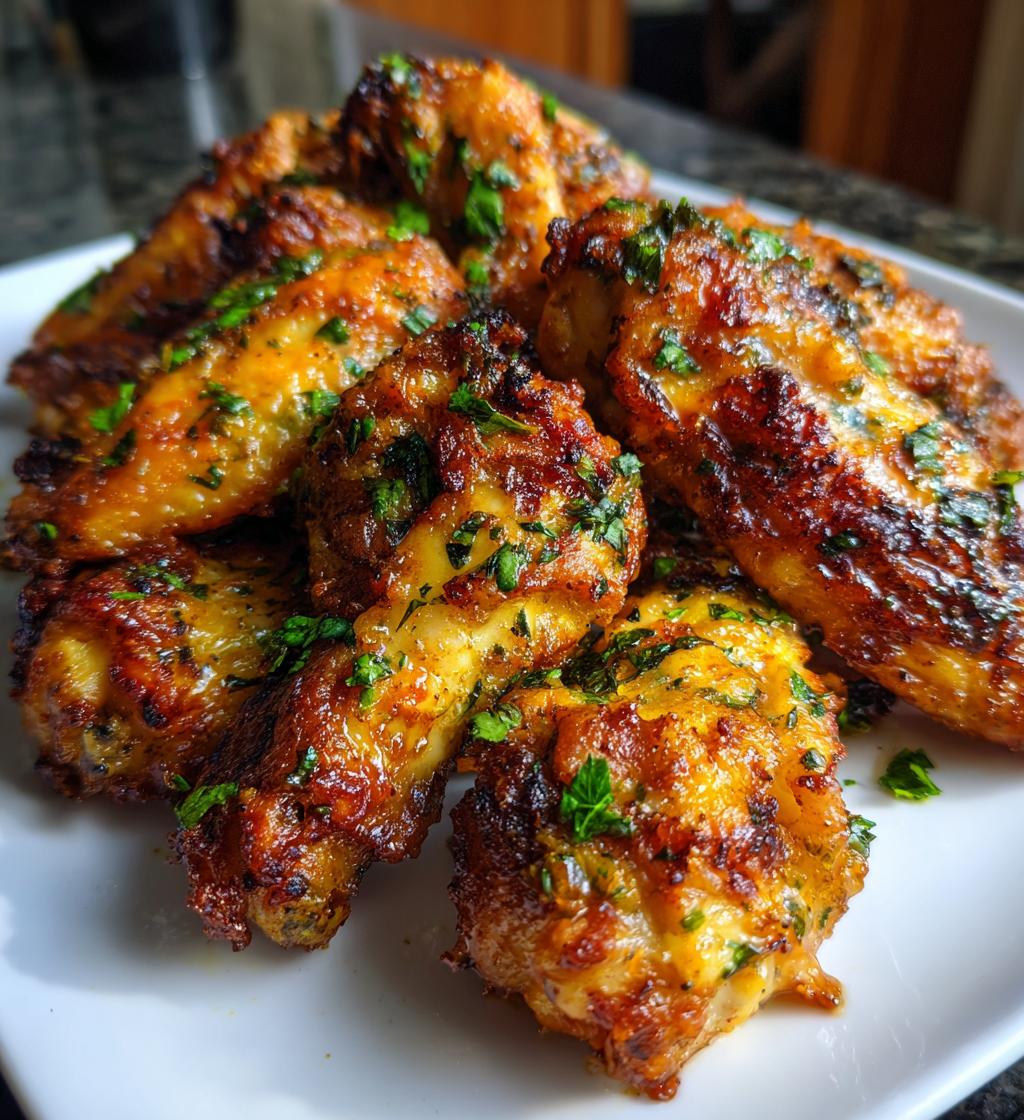
Let me tell you, there’s something magical about Cheesy Chicken Roll-Ups that just makes my heart sing! Picture this: tender chicken fillets rolled up with a creamy, cheesy filling that oozes flavor in every bite. It’s a dish that not only impresses but is also super easy to whip up for a weeknight dinner or a cozy weekend gathering. I first stumbled upon this recipe during a busy week when my family was craving something comforting yet quick to prepare. I remember the smiles on their faces as the aroma filled the kitchen—pure bliss!
These roll-ups are perfect for anyone looking to satisfy their cravings without spending hours in the kitchen. With just a handful of ingredients and a bit of love, you can create a dish that feels fancy but is a breeze to make. Trust me, once you try these Cheesy Chicken Roll-Ups, they’ll become a staple in your meal rotation!
Ingredients List
Now, let’s gather the goodies you’ll need to make these scrumptious Cheesy Chicken Roll-Ups. Each ingredient plays a crucial role in delivering that creamy, savory flavor we all love. Here’s what you’ll need:
- 4 boneless chicken fillets: Make sure they’re all roughly the same size for even cooking.
- 1 cup shredded cheddar cheese: This will add that melty goodness that everyone craves.
- 1/2 cup cream cheese, softened: Let it sit out to soften; it makes mixing so much easier!
- 1 teaspoon garlic powder: This adds a lovely depth of flavor.
- 1 teaspoon onion powder: A must for that savory aroma!
- 1/2 teaspoon salt: Just the right amount to enhance all those flavors.
- 1/2 teaspoon pepper: For a little kick!
- 1/4 cup fresh parsley, chopped: This adds a fresh touch and a pop of color!
- 1 tablespoon olive oil: Perfect for browning those delicious roll-ups.
Gathering these ingredients is the first step to creating a dish that will wow your family and friends. Remember, fresh ingredients make all the difference, so opt for the best you can find!
How to Prepare Cheesy Chicken Roll-Ups
Alright, let’s dive into the deliciousness of preparing these Cheesy Chicken Roll-Ups! Don’t worry; I’ll guide you through every step. Just follow along, and you’ll have a mouthwatering dish ready to impress. Here’s how to do it:
- Preheat your oven: First things first, preheat your oven to 375°F (190°C). This ensures your roll-ups cook evenly and come out perfectly golden.
- Mix the filling: In a medium-sized bowl, combine the softened cream cheese, shredded cheddar cheese, garlic powder, onion powder, salt, pepper, and chopped parsley. Mix everything together until it’s well combined. Trust me, this filling is where the magic starts!
- Prepare the chicken: Take your boneless chicken fillets and place them between two sheets of plastic wrap. Using a meat mallet, gently flatten each fillet to about 1/2 inch thick. This step helps them cook evenly and makes rolling easier.
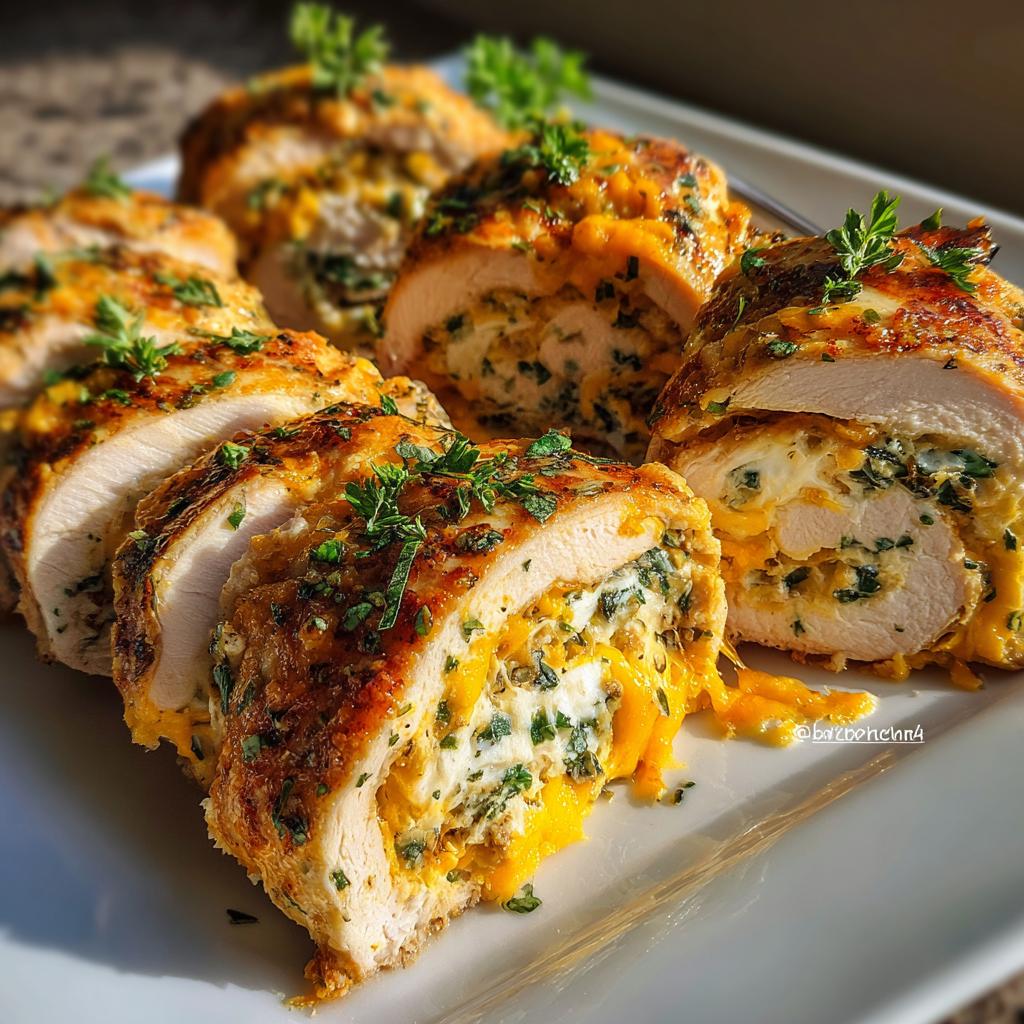
- Spread the filling: Now, spread a generous amount of the cheese mixture evenly over each flattened chicken fillet. Leave a little space at the edges so it doesn’t ooze out while baking—nobody wants a cheesy mess!
- Roll them up: Carefully roll each chicken fillet from one end to the other, tucking in the filling as you go. Secure each roll with toothpicks to keep everything in place during cooking.
- Brown the chicken: In a skillet over medium heat, add the olive oil. Once it’s hot, add the chicken roll-ups, searing them for about 5 minutes on each side until they’re golden brown. This step adds so much flavor!
- Bake to perfection: Transfer the browned chicken roll-ups to a greased baking dish and pop them into your preheated oven. Bake for 25-30 minutes, or until the internal temperature reaches 165°F (75°C). The smell will be heavenly, I promise!
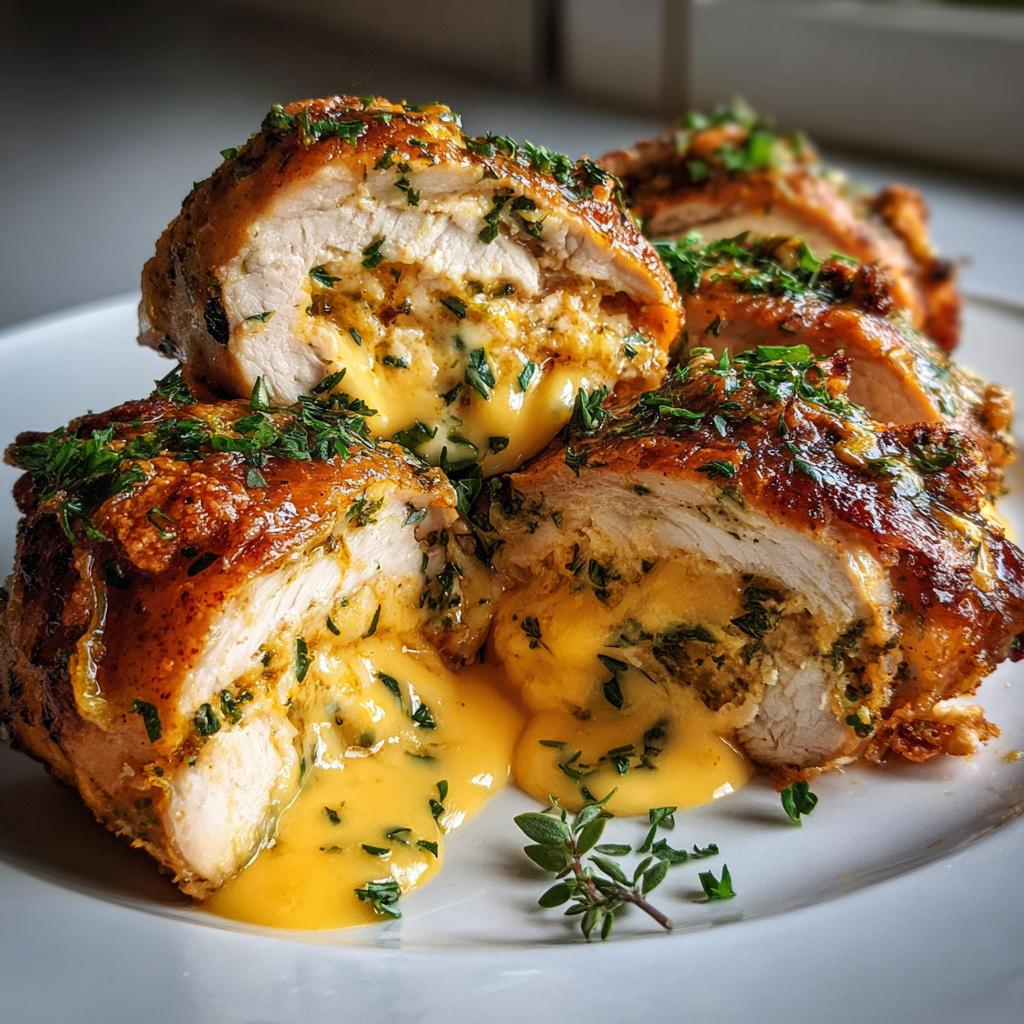
- Serve: Once they’re out of the oven, remove the toothpicks, slice them up, and get ready to enjoy! These roll-ups are perfect served warm, and I love pairing them with a crisp side salad or some roasted veggies.
And there you have it! Each step takes you closer to a dish that’s not just tasty but also feels like a warm hug on a plate. Enjoy the cooking process, and soon you’ll be savoring those cheesy, flavorful bites of joy!
Nutritional Information
Before we dig into those delicious Cheesy Chicken Roll-Ups, let’s talk about the nutritional content! Now, keep in mind that these values can vary based on the specific ingredients or brands you choose to use, so they’re not set in stone. But here’s a general idea of what you can expect per roll-up:
- Calories: 350
- Fat: 20g
- Saturated Fat: 10g
- Unsaturated Fat: 8g
- Trans Fat: 0g
- Cholesterol: 90mg
- Sodium: 600mg
- Carbohydrates: 5g
- Fiber: 1g
- Sugar: 2g
- Protein: 35g
These Cheesy Chicken Roll-Ups pack a protein punch while being relatively low in carbs, making them a great option for many dietary preferences. So, enjoy every cheesy bite knowing you’re indulging in something that’s not just tasty but also satisfying!
Why You’ll Love This Recipe
Let me tell you, there are so many reasons to get excited about these Cheesy Chicken Roll-Ups! They’re not just tasty; they’re also incredibly convenient and adaptable. Here’s why you’ll want to whip them up again and again:
- Quick preparation time: You can have these delicious roll-ups ready to bake in just 15 minutes. Perfect for those busy weeknights!
- Easy to make: With just a few simple steps, even novice cooks can impress their family and friends. You’ll feel like a kitchen pro!
- Flavorful and filling: The combination of creamy cheeses and savory herbs makes each bite a flavor explosion. Trust me, they’re hearty enough to satisfy even the hungriest eaters.
- Versatile for meal prep: These roll-ups can easily be made ahead of time and stored in the fridge or freezer, making them a fantastic option for meal prepping!
- Great for family dinners: They’re a hit with both kids and adults, making every family meal a special occasion. Plus, they look impressive on the plate!
Once you try making these Cheesy Chicken Roll-Ups, you’ll see why they’re a favorite in my household. They check all the boxes for a cozy, satisfying meal!
Tips for Success
Now that you’re all set to make these amazing Cheesy Chicken Roll-Ups, let’s talk about a few tips to ensure they turn out perfect every time! Just a little attention to detail goes a long way in elevating your dish:
- Securing the rolls: After rolling up your chicken, use toothpicks to secure them firmly. Make sure to insert them at an angle, so they hold the filling in without risking a cheesy explosion during cooking. Don’t forget to remove them before serving—nobody wants a surprise toothpick in their meal!
- Avoid drying out the chicken: To keep your chicken juicy and tender, don’t overcook it! Use a meat thermometer to ensure the internal temperature reaches 165°F (75°C). If you don’t have one, just keep an eye on the cooking time—25-30 minutes should do the trick, but every oven is a bit different!
- Get that golden brown: Browning the chicken in the skillet before baking adds so much flavor. Make sure your skillet is hot enough before adding the chicken; a good sizzle means you’re on the right track! Also, don’t crowd the pan—give each roll-up enough space to brown nicely.
- Experiment with flavors: Feel free to play around with the cheese and herbs in the filling! Adding a sprinkle of smoked paprika or Italian seasoning can take your roll-ups to the next level. Just remember, balance is key—too many bold flavors might overpower the cheesy goodness.
- Let them rest: After taking the roll-ups out of the oven, let them sit for a few minutes before slicing. This resting period allows the juices to redistribute, making every bite juicy and delicious!
With these tips in your back pocket, you’re well on your way to creating the most delightful Cheesy Chicken Roll-Ups that will impress everyone at your table. Happy cooking!
Variations
One of the best things about these Cheesy Chicken Roll-Ups is how versatile they can be! You can easily switch things up to suit your taste or make use of what you have on hand. Here are some creative ideas to get your culinary juices flowing:
- Cheese alternatives: While cheddar is a classic choice, why not try mozzarella for that ultimate stretchy cheese experience? Or go for a sharp gouda or pepper jack for a little kick. You could even mix different cheeses together for a flavor explosion!
- Herb variations: Fresh herbs can elevate the flavor of your roll-ups. Try using basil or dill for a fresh twist. You could also add some Italian seasoning or even a dash of fresh thyme for a cozy, earthy flavor.
- Veggie additions: Sneak in some finely chopped spinach or sautéed mushrooms into the cheese filling for extra nutrition and flavor. You could also consider adding roasted red peppers for a burst of sweetness and color.
- Spice it up: If you’re feeling adventurous, add some diced jalapeños or a sprinkle of crushed red pepper flakes to the cheese mixture. This will give your roll-ups a nice spicy kick that pairs beautifully with the creamy filling.
- Gluten-free option: To make these roll-ups gluten-free, simply ensure your chicken is free from any additives. You can serve them with gluten-free sides to complete the meal without worry!
The possibilities are endless when it comes to customizing your Cheesy Chicken Roll-Ups! Don’t hesitate to get creative and make this recipe your own. Whatever you choose, I guarantee that your family will love the delicious variations!
Serving Suggestions
Now that you’ve whipped up these delightful Cheesy Chicken Roll-Ups, let’s talk about how to make your meal even more special by pairing it with some fantastic sides! The right accompaniments can elevate your dish and create a well-rounded dining experience. Here are some of my favorite serving suggestions:
- Crisp Side Salad: A fresh green salad with mixed greens, cherry tomatoes, cucumber, and a light vinaigrette is a perfect complement. The crunch and acidity balance the richness of the roll-ups beautifully!
- Roasted Vegetables: Toss some seasonal veggies like zucchini, bell peppers, or carrots in olive oil, salt, and pepper, then roast them in the oven. Their natural sweetness pairs wonderfully with the cheesy goodness!
- Garlic Mashed Potatoes: If you’re in the mood for something comforting, creamy garlic mashed potatoes are a hit! They soak up any juices from the roll-ups, creating a heavenly bite.
- Quinoa or Rice Pilaf: For a hearty side, try serving a fluffy quinoa or rice pilaf. You can even add some herbs, nuts, or dried fruits to make it extra special and flavorful.
- Steamed Broccoli: Simple yet effective! Steamed broccoli adds a pop of color and a nutritious crunch. Plus, it’s quick to prepare and balances out the meal nicely.
These sides not only enhance the flavors of your Cheesy Chicken Roll-Ups but also add variety to your plate. Feel free to mix and match based on what you have at home or what you’re craving. Enjoy your delicious meal!
Storage & Reheating Instructions
So, you’ve made these delicious Cheesy Chicken Roll-Ups, and now you have some leftovers? No problem! Storing and reheating them properly will ensure they stay just as tasty for your next meal. Here’s how to do it:
Storing Leftovers: Once the roll-ups have cooled down, place them in an airtight container. You can keep them in the refrigerator for up to 3 days. Make sure they’re well-covered to prevent them from drying out or absorbing any other odors from the fridge. If you’re planning to keep them longer, you can also freeze them!
Freezing for Later: To freeze your Cheesy Chicken Roll-Ups, wrap each roll tightly in plastic wrap and then place them in a freezer-safe bag or container. They’ll stay good in the freezer for about 2-3 months. Just make sure to label them with the date so you know when to use them!
Reheating Instructions: When you’re ready to enjoy your leftovers, there are a couple of great methods to bring back that delicious flavor:
- Oven: Preheat your oven to 350°F (175°C). Place the roll-ups in a baking dish and cover with foil to keep them from drying out. Heat for about 15-20 minutes, or until they’re warmed through.
- Microwave: If you’re in a hurry, the microwave works too! Just place a roll-up on a microwave-safe plate and cover it with a damp paper towel to retain moisture. Heat on medium power in 30-second intervals until warmed through. Be careful not to overheat, as that can dry them out!
With these storage and reheating tips, you can make the most of your Cheesy Chicken Roll-Ups. Enjoy every cheesy, flavorful bite, even on the days you don’t feel like cooking!
FAQ Section
Here are some common questions I often get about Cheesy Chicken Roll-Ups. If you’re curious about preparation tips, ingredient swaps, or baking times, you’re in the right place!
- Can I use chicken thighs instead of chicken fillets? Absolutely! Chicken thighs will work beautifully in this recipe, giving you a slightly richer flavor. Just make sure to adjust the cooking time as they may take a bit longer to cook through.
- What if I don’t have cream cheese? No problem! You can use ricotta cheese or even mascarpone as a substitute. Just keep in mind that these alternatives will change the creaminess a bit, but they’ll still be delicious!
- Can I prepare these roll-ups ahead of time? Yes! You can assemble the Cheesy Chicken Roll-Ups a day in advance. Just cover them tightly and store them in the refrigerator until you’re ready to bake. This makes for a quick dinner option!
- How do I know when the roll-ups are done baking? The best way to check is by using a meat thermometer. The internal temperature should reach 165°F (75°C). If you don’t have a thermometer, look for the chicken to be golden brown and juices running clear when you cut into it.
- Can I add vegetables to the filling? Definitely! Finely chopped spinach, bell peppers, or even some sautéed mushrooms would be fantastic additions to your cheese mixture. It’s a great way to sneak in some extra nutrients!
- What should I serve with Cheesy Chicken Roll-Ups? I love serving these roll-ups with a crisp side salad or roasted veggies. They pair beautifully with garlic mashed potatoes or quinoa for a heartier meal!
If you have any other questions or need further clarification, feel free to reach out! Cooking should be fun and stress-free, and I’m here to help you enjoy every step of making these delicious Cheesy Chicken Roll-Ups!
Print
Cheesy Chicken Roll-Ups: 7 Blissful Bites of Comfort
- Total Time: 45 minutes
- Yield: 4 servings 1x
- Diet: Low Fat
Description
Cheesy Chicken Roll-Ups are a savory dish featuring rolled chicken fillets filled with cheese and herbs.
Ingredients
- 4 boneless chicken fillets
- 1 cup shredded cheddar cheese
- 1/2 cup cream cheese, softened
- 1 teaspoon garlic powder
- 1 teaspoon onion powder
- 1/2 teaspoon salt
- 1/2 teaspoon pepper
- 1/4 cup fresh parsley, chopped
- 1 tablespoon olive oil
Instructions
- Preheat your oven to 375°F (190°C).
- In a bowl, mix cream cheese, cheddar cheese, garlic powder, onion powder, salt, pepper, and parsley.
- Flatten the chicken fillets with a meat mallet.
- Spread the cheese mixture evenly over each chicken fillet.
- Roll up each chicken fillet tightly and secure with toothpicks.
- Heat olive oil in a skillet over medium heat.
- Brown the chicken rolls on all sides for about 5 minutes.
- Transfer the chicken rolls to a baking dish and bake for 25-30 minutes.
- Remove toothpicks and slice to serve.
Notes
- Serve with a side salad or vegetables.
- Adjust cheese types based on your preference.
- Can be prepared ahead and baked later.
- Prep Time: 15 minutes
- Cook Time: 30 minutes
- Category: Main Course
- Method: Baking
- Cuisine: American
Nutrition
- Serving Size: 1 roll-up
- Calories: 350
- Sugar: 2g
- Sodium: 600mg
- Fat: 20g
- Saturated Fat: 10g
- Unsaturated Fat: 8g
- Trans Fat: 0g
- Carbohydrates: 5g
- Fiber: 1g
- Protein: 35g
- Cholesterol: 90mg
Keywords: Cheesy Chicken Roll-Ups, Chicken Recipe, Easy Dinner