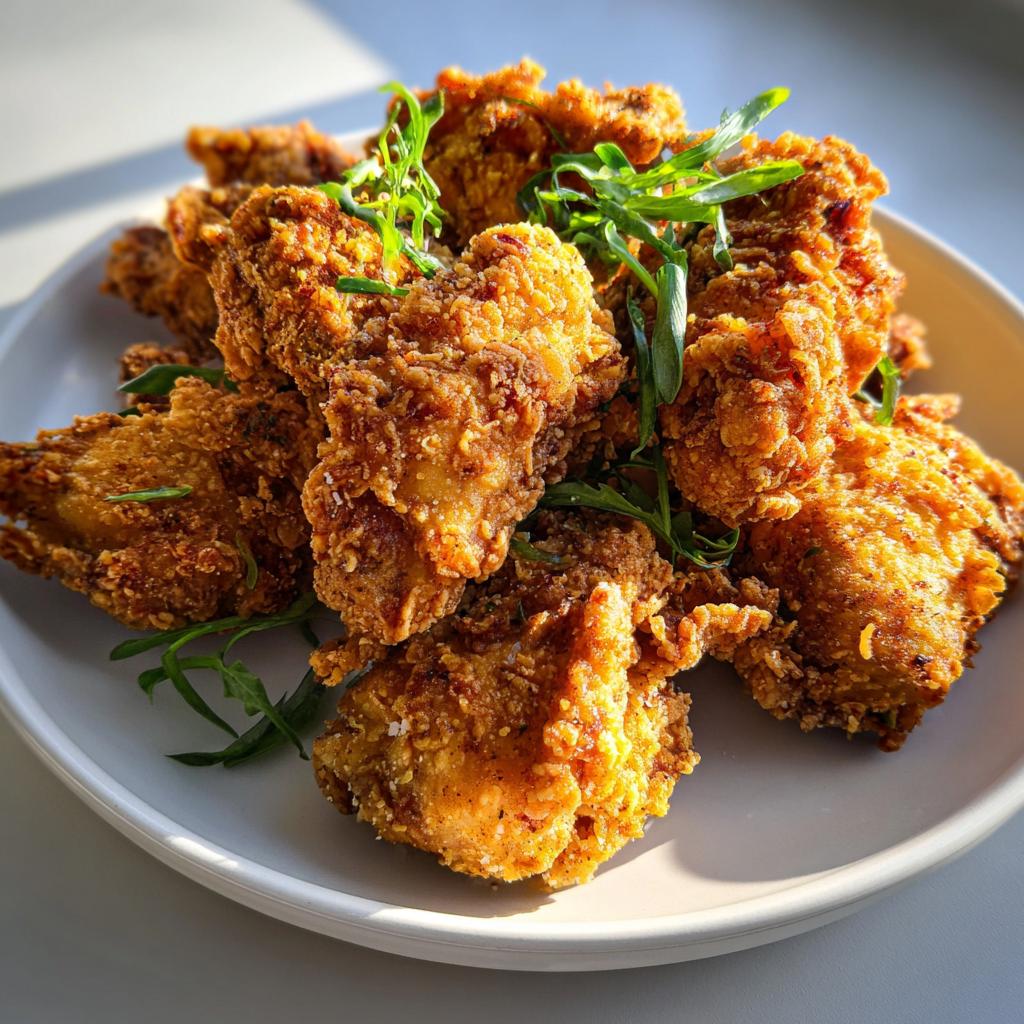
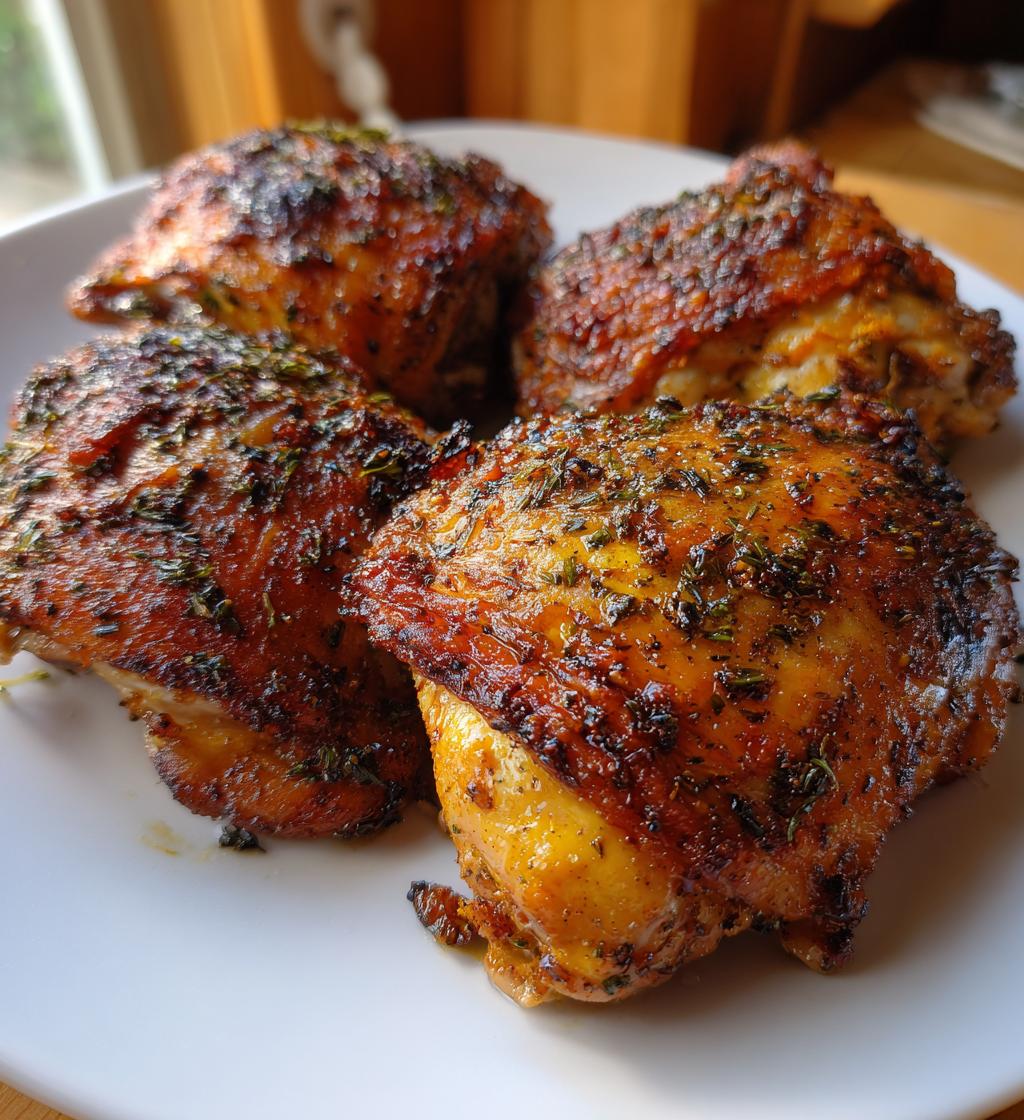
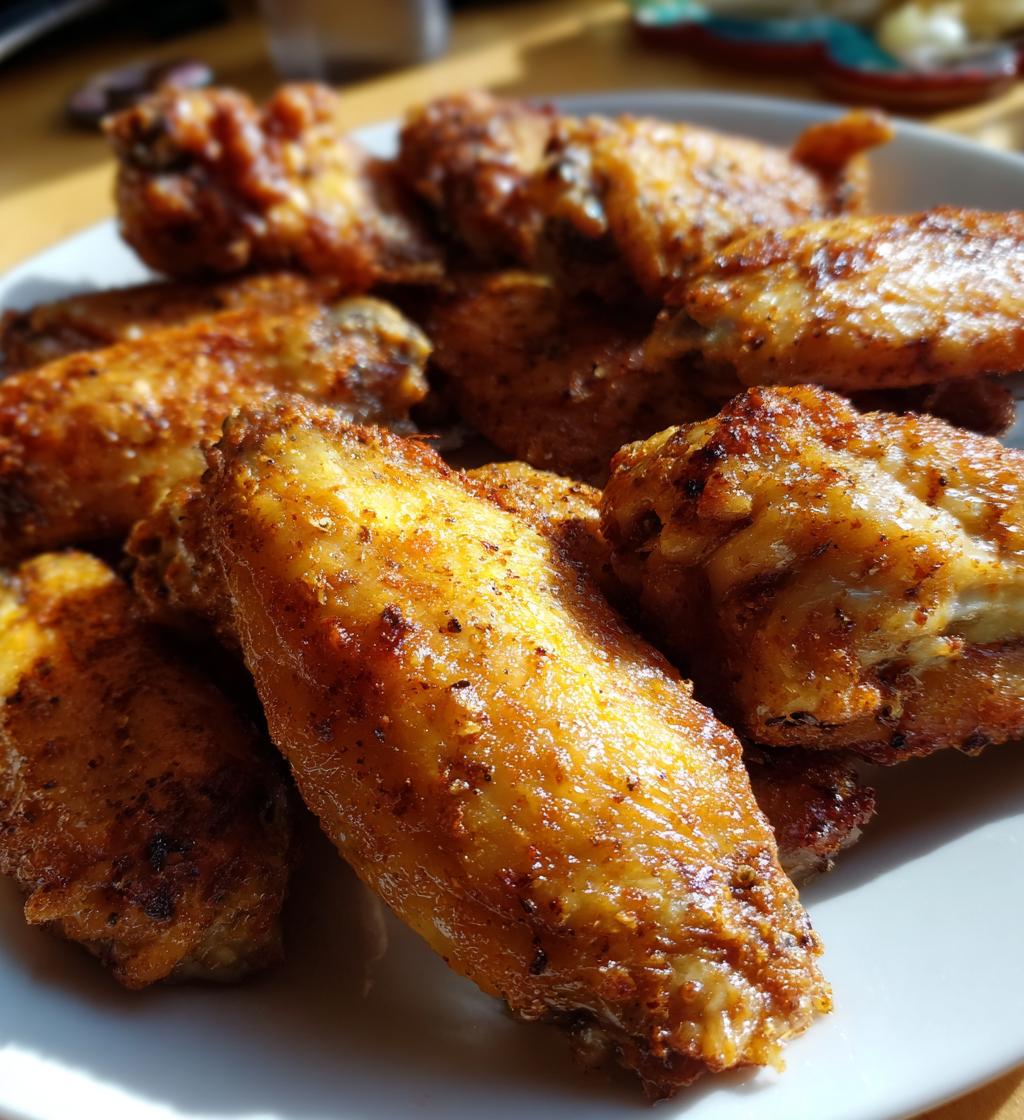
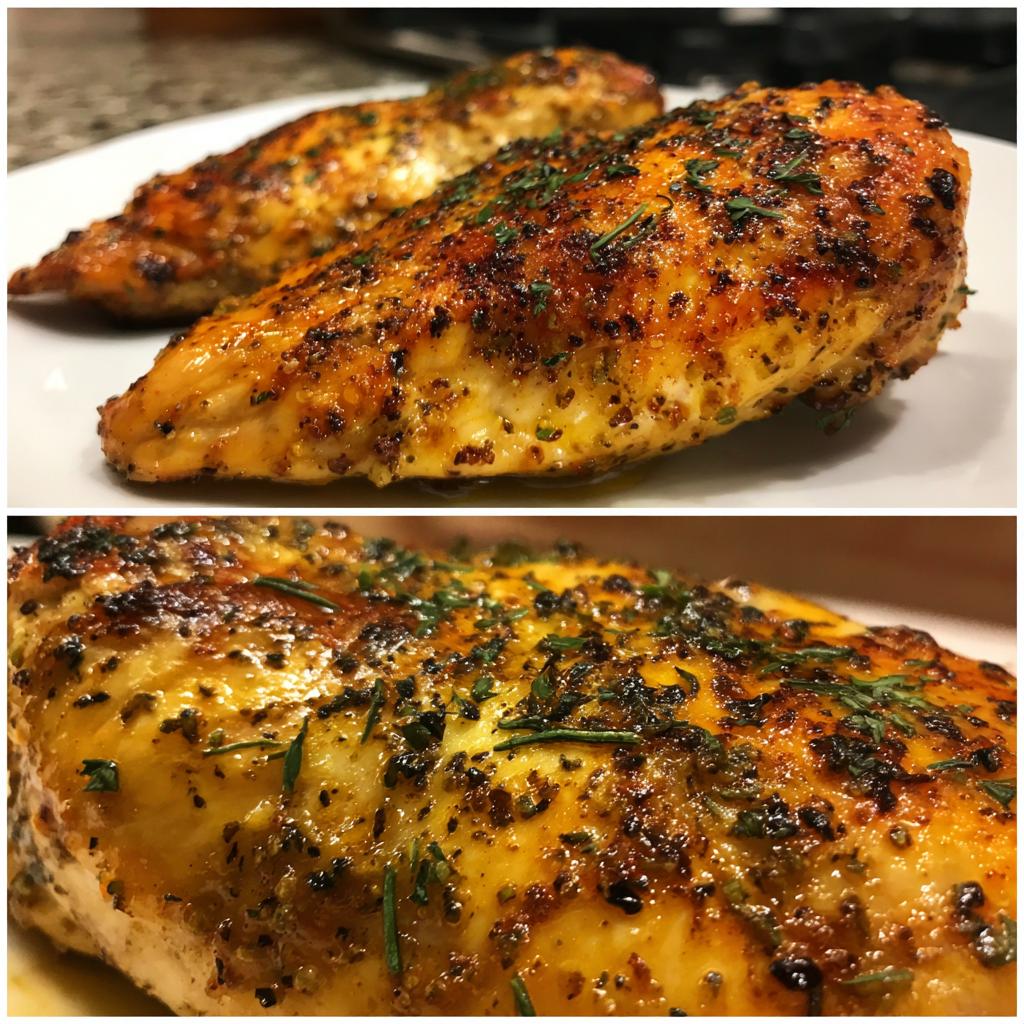
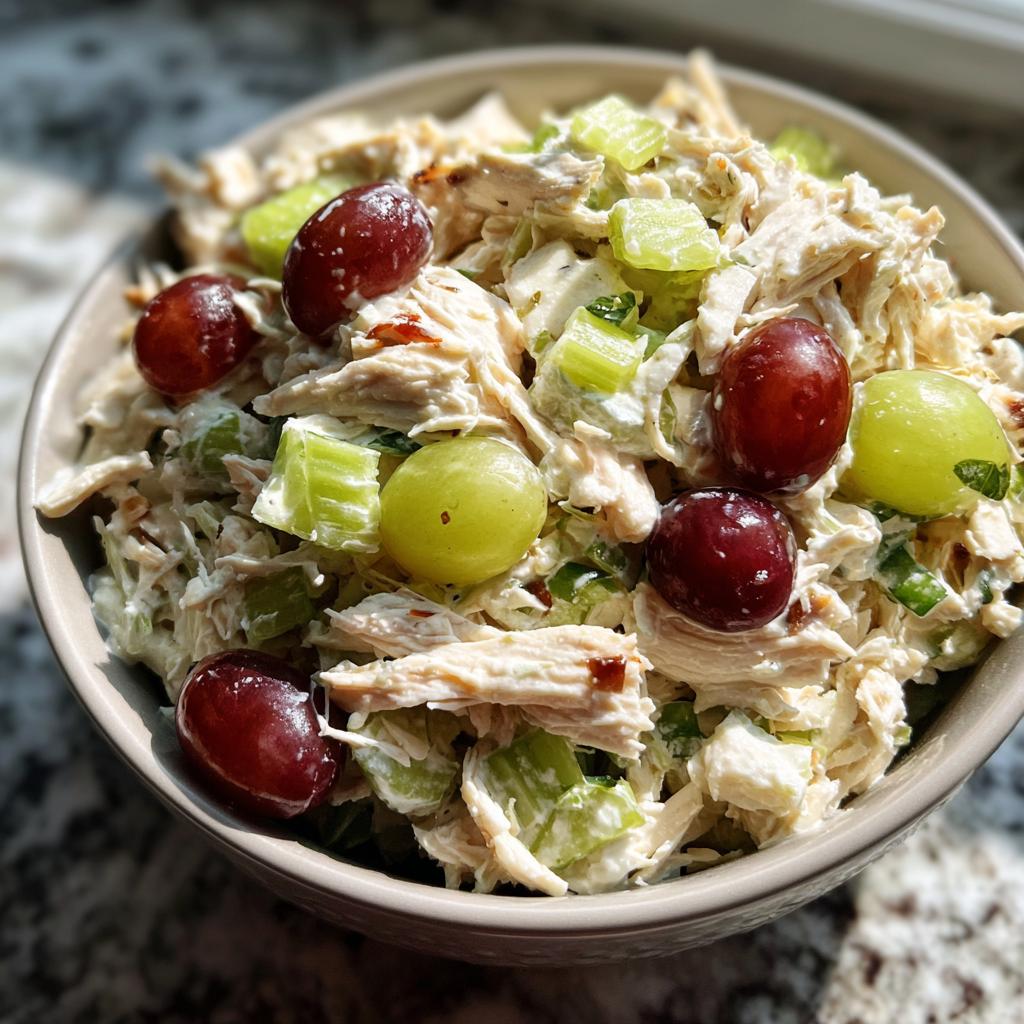
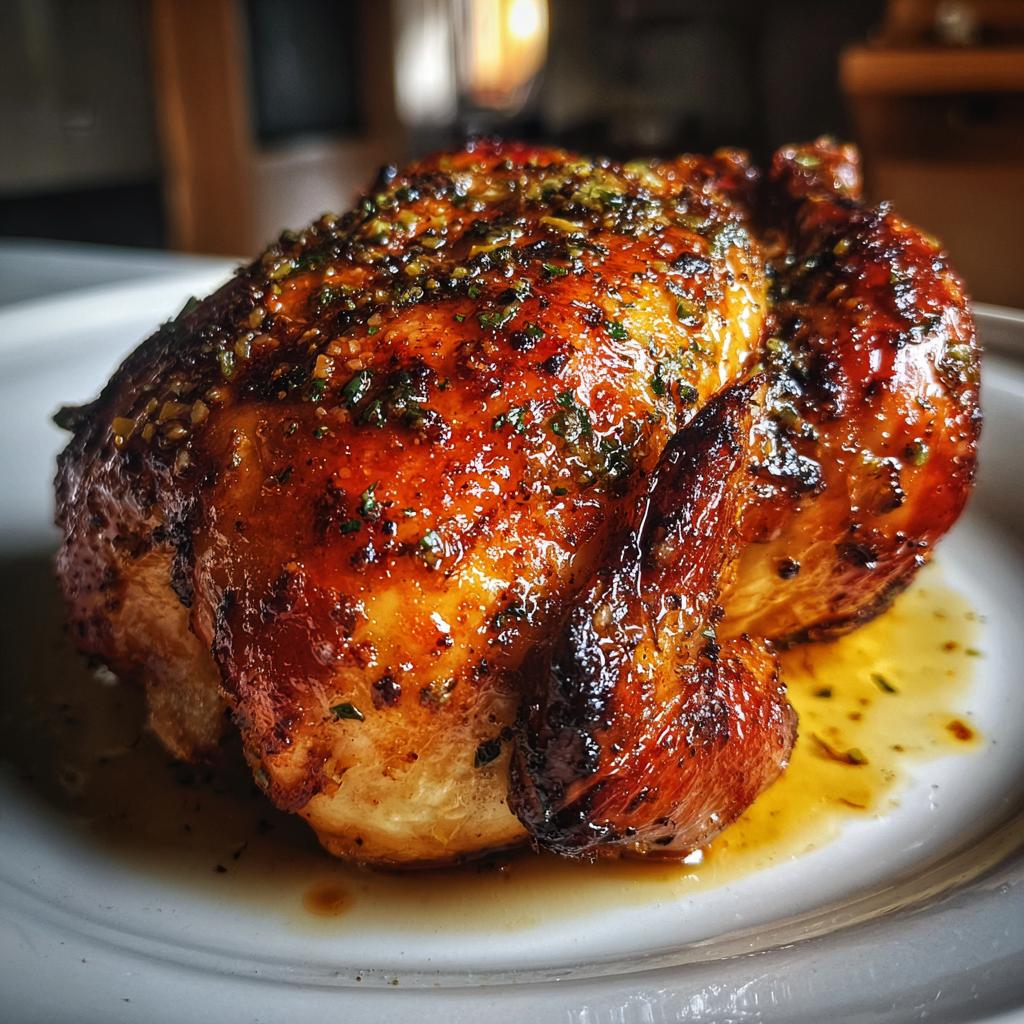
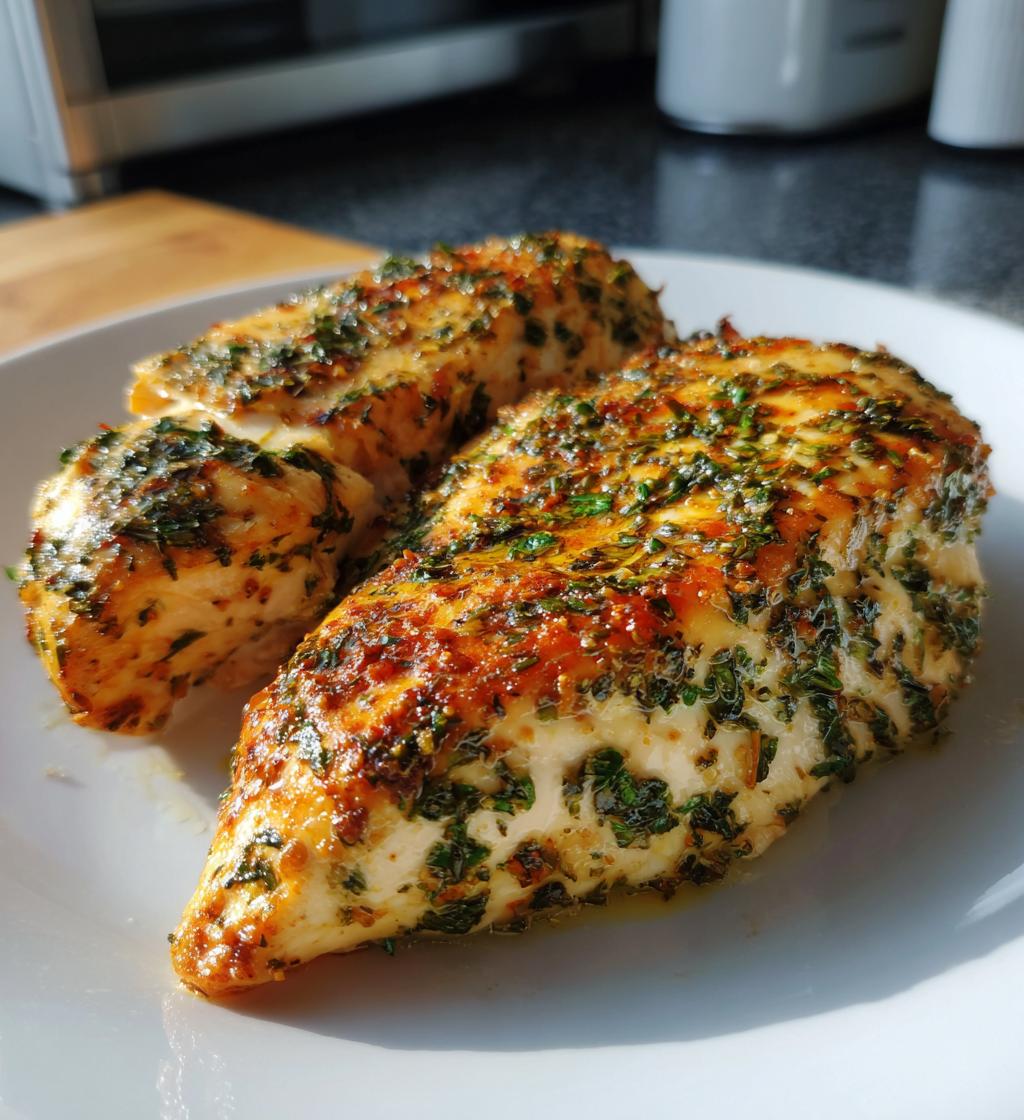
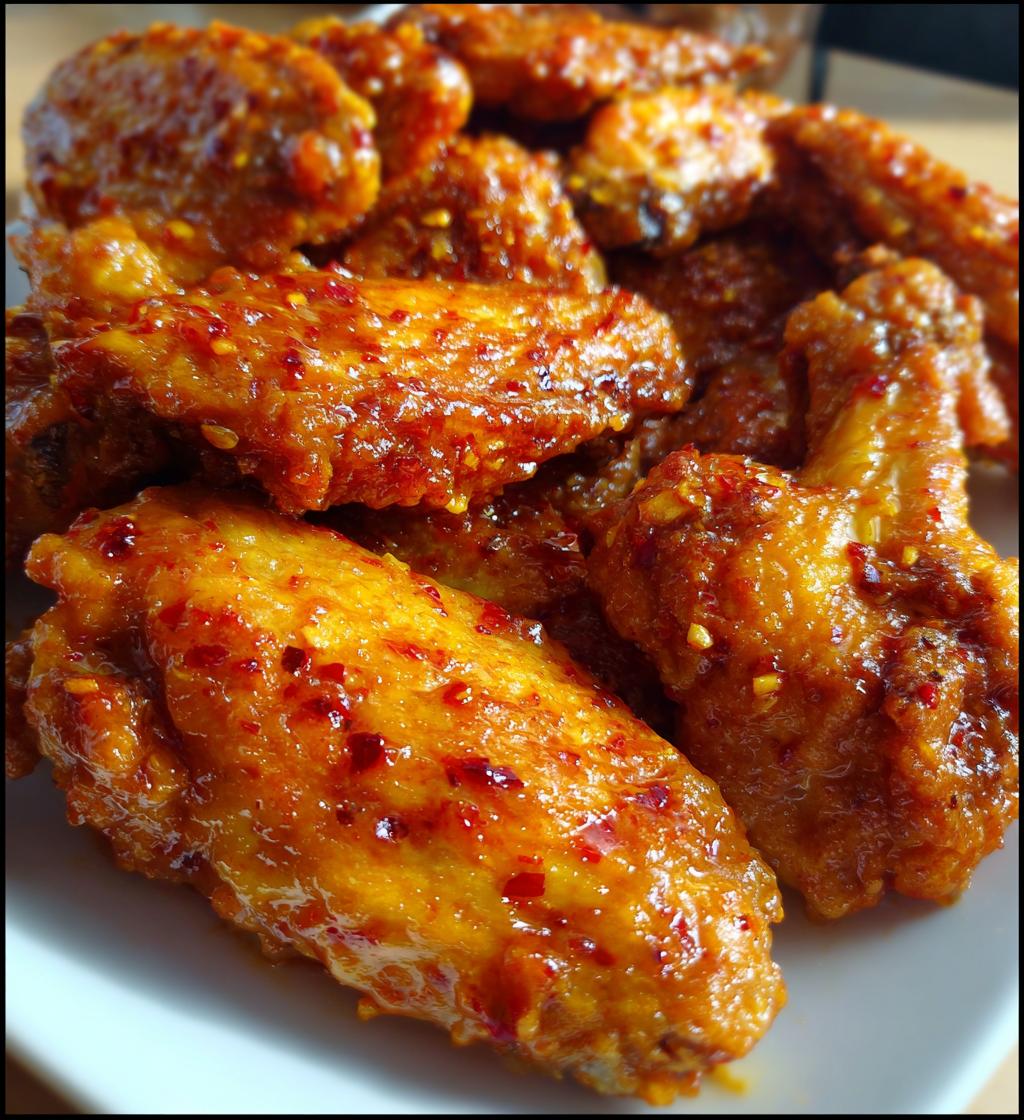
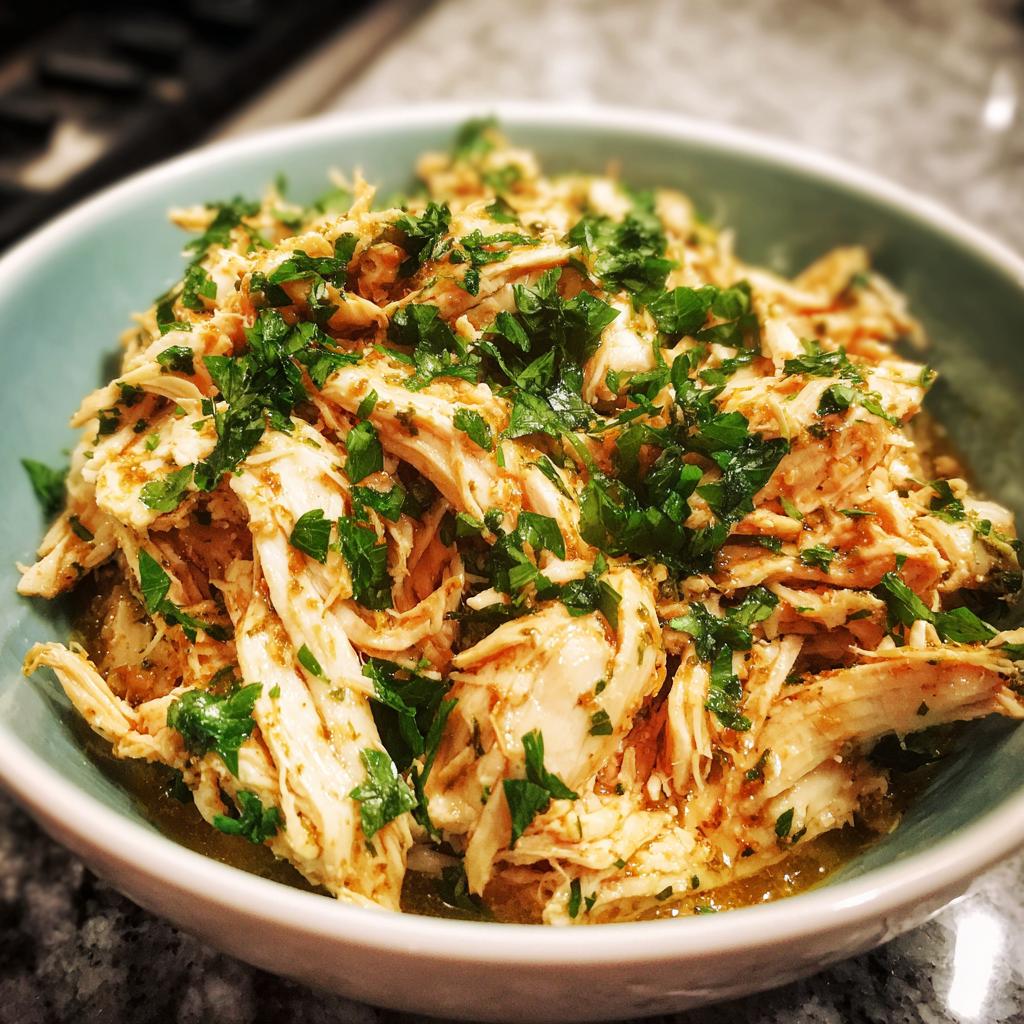
There’s just something magical about biting into a piece of crispy fried chicken, isn’t there? The crunch, the flavor, the juicy goodness inside—it’s pure comfort food at its finest! This chicken fry recipe is a delightful twist on the classic, promising a crunchy exterior that gives way to tender, flavorful chicken. What sets it apart? It’s the magical marinating in buttermilk that ensures every bite is bursting with flavor and moisture. Trust me, once you try this method, you’ll never look back! Whether you’re cooking for a family dinner or a gathering with friends, this chicken fry recipe is sure to impress. So, roll up your sleeves and let’s get frying some deliciousness together!
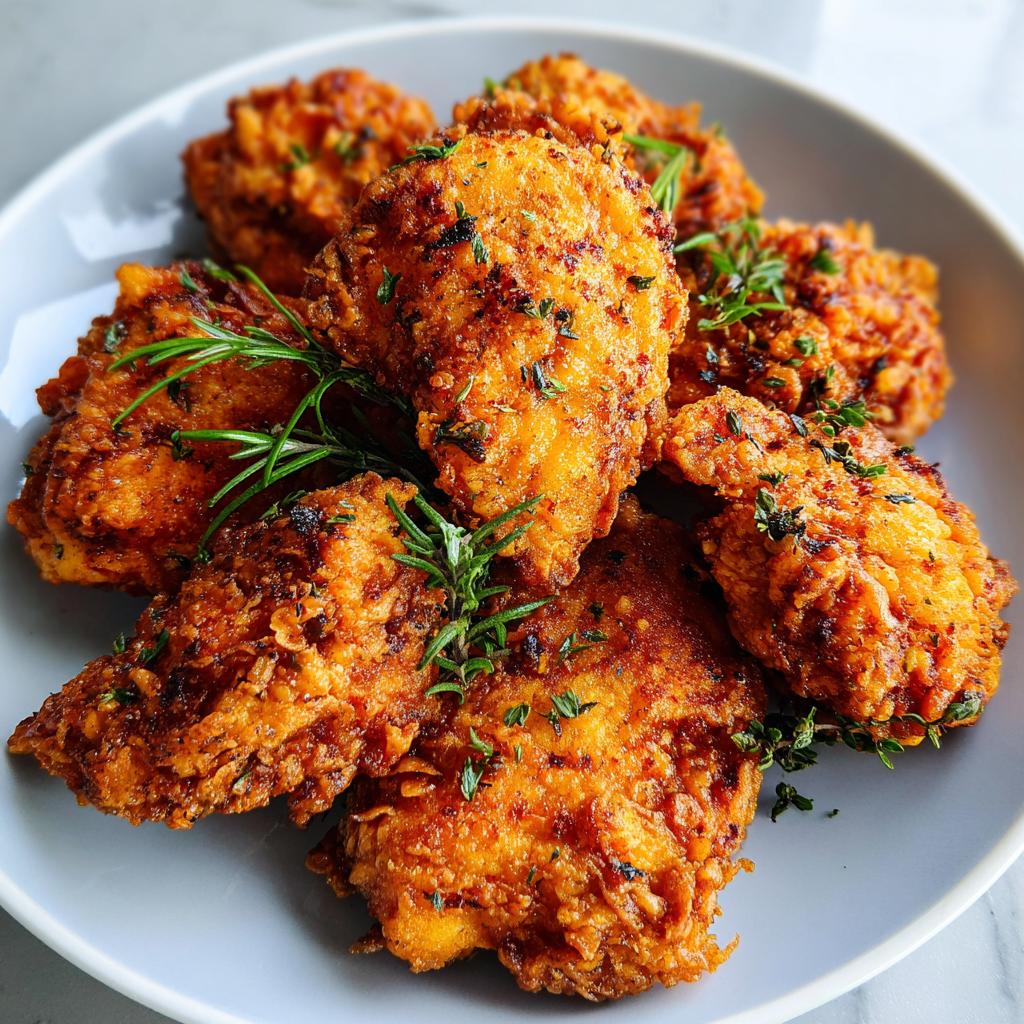
Ingredients List
- 1 pound chicken pieces (legs, thighs, or fillets, your choice!)
- 1 cup buttermilk (for that perfect marinating magic)
- 1 cup all-purpose flour (plain and simple)
- 1 teaspoon salt (to enhance all those yummy flavors)
- 1 teaspoon black pepper (for a little kick)
- 1 teaspoon paprika (adds a lovely color and flavor)
- 1/2 teaspoon garlic powder (because who doesn’t love garlic?)
- 1/2 teaspoon onion powder (to round out the taste)
- Oil for frying (enough to fill your pan about 1-2 inches deep, so it really submerges the chicken)
How to Prepare Chicken Fry Recipes
Now that we have our ingredients ready, let’s dive into the fun part—preparing this mouthwatering chicken fry recipe! I promise, it’s easier than you think! Each step is designed to bring out that crispy, flavorful chicken we all crave. So, let’s get started!
Step 1: Marinating the Chicken
Marinating the chicken in buttermilk is absolutely crucial for achieving tender and juicy meat. The acidity in buttermilk breaks down the proteins, making the chicken super flavorful and moist. Simply place your chicken pieces in a bowl and pour in the buttermilk, ensuring each piece is well-coated. Cover it and let it hang out in the fridge for at least 1 hour—trust me, the longer, the better! You can even marinate it overnight if you’re planning ahead. This step is where the magic begins!
Step 2: Preparing the Coating
While the chicken is soaking up that delicious buttermilk, it’s time to mix up our coating! In a large bowl, combine the all-purpose flour, salt, black pepper, paprika, garlic powder, and onion powder. Give it a good whisk to ensure everything is evenly distributed. This mixture is where all the flavor lives, so don’t skimp on the spices! An even coating is key to that crispy finish, so make sure it’s well-blended and ready to coat your chicken.
Step 3: Heating the Oil
Now let’s talk oil! You’ll want to heat your oil in a deep skillet or frying pan over medium heat. I usually aim for about 350°F (175°C) for frying. If you don’t have a thermometer, just drop a small pinch of your flour mixture into the oil; if it sizzles, you’re good to go! Safety tip: always be cautious when handling hot oil. Never fill your pan more than halfway full, and keep a lid nearby in case of splatters.
Step 4: Coating the Chicken
Here comes the fun part—coating the chicken! Take each piece from the buttermilk and let the excess drip off. Then, dip it into your flour mixture, pressing gently to ensure it sticks well. For an extra crunchy coating, I recommend double-dipping! Just pop the coated chicken back into the buttermilk and then into the flour again. This creates a thicker crust that’s oh-so-satisfying!
Step 5: Frying the Chicken
Once your oil is hot, carefully place the coated chicken pieces in the pan, making sure not to overcrowd them. Fry them for about 10-15 minutes, turning occasionally until they’re golden brown and cooked through. You can check for doneness by using a meat thermometer—165°F (75°C) is your magic number! The chicken should be crispy and beautifully brown on the outside, while remaining juicy on the inside. Oh, the smell in your kitchen will be heavenly!
Step 6: Draining and Serving
When your chicken is perfectly fried, use tongs to transfer it to a plate lined with paper towels. This will help soak up any excess oil. Let it rest for a few minutes—if you can resist! Serve it hot with your favorite sides, like coleslaw or mashed potatoes, and don’t forget a sprinkle of fresh herbs for that pop of color. Enjoy every crunchy, flavorful bite!
Nutritional Information Section
Now, let’s take a moment to talk about the nutritional goodness of this chicken fry recipe! It’s always nice to know what we’re putting into our bodies, right? Here’s an estimated breakdown per serving, which is one piece of chicken:
- Calories: 350
- Fat: 20g
- Saturated Fat: 5g
- Trans Fat: 0g
- Cholesterol: 70mg
- Sodium: 600mg
- Carbohydrates: 25g
- Fiber: 1g
- Sugar: 1g
- Protein: 20g
Keep in mind that these values are estimates and can vary based on the specific ingredients you use and portion sizes. It’s all about balance, so enjoy your crispy chicken fry while keeping an eye on those numbers! Happy frying!
Tips for Success
Alright, let’s make sure your chicken fry recipe turns out absolutely perfect! I’ve gathered some of my favorite pro tips that’ll elevate your frying game and ensure each bite is crispy and packed with flavor. Trust me, these little adjustments can make a big difference!
Adjusting Spices to Your Taste
Don’t be afraid to play with the spices! If you love a bit of heat, add some cayenne pepper to the flour mixture. Just a pinch can really kick things up a notch! Or if you’re a fan of herbs, try adding dried thyme or oregano. Adjusting the spice levels can make your chicken feel like a brand-new dish every time!
Frying Techniques for Perfect Crispiness
For that dreamily crunchy exterior, frying in batches is key. Overcrowding the pan can cause the temperature of the oil to drop, resulting in soggy chicken instead of crispy goodness. So, fry in smaller batches and give each piece room to breathe! This way, you’ll achieve that golden brown color we all crave.
Keep an Eye on Oil Temperature
Oil temperature is everything! If it’s too low, your chicken will absorb too much oil and become greasy. If it’s too hot, you risk burning the coating before the chicken cooks through. A good rule of thumb is to keep the heat steady on medium. If you notice the oil smoking, turn it down a notch. And remember, it’s totally okay to check the temperature with a thermometer if you have one!
Letting the Chicken Rest
After frying, let your chicken rest for a few minutes on a paper towel-lined plate. This not only helps drain excess oil but also allows the juices to redistribute, making each bite even juicier! It’s tempting to dig in right away, but a little patience goes a long way here.
Experimenting with Marinades
If you want to take your chicken fry to the next level, consider marinating overnight! The longer the chicken sits in buttermilk, the more flavor it absorbs. You can even add some hot sauce or spices to the buttermilk for an extra kick. The possibilities are endless!
With these tips in your back pocket, you’re all set to create the crispiest, most delicious chicken fry ever! Enjoy the process, and remember that practice makes perfect. Happy frying!
Variations
If you’re feeling adventurous, there are so many fun ways to switch up this chicken fry recipe! I love experimenting with different spices and marinades to keep things exciting. Here are some ideas that could take your crispy chicken to a whole new level!
Spice It Up with Different Seasonings
Instead of the classic paprika and garlic powder, why not try a Cajun spice blend? It adds a fantastic kick that brings a whole new flavor profile. Or, go for an Italian twist by using dried oregano, basil, and Parmesan cheese in the coating—so delicious!
Marinade Magic
While buttermilk is super effective, you can also marinate in yogurt or a mix of lemon juice and olive oil for a tangy twist. Just remember that the acidity helps tenderize the chicken! If you’re craving heat, add some sriracha or hot sauce to the marinade for a spicy punch!
Herb-Infused Coating
Mix fresh or dried herbs into your flour mixture. Think rosemary, thyme, or even a hint of dill! These subtle flavors can elevate your chicken and impress your guests. Plus, the aroma while frying will have everyone flocking to the kitchen!
Cheesy Coating
For a unique and indulgent touch, try adding grated cheese to your flour mixture. A little Parmesan or cheddar gives a rich flavor and an extra crunchy texture. Just make sure to adjust the salt accordingly since cheese can be quite salty!
Sweet and Spicy Glaze
After frying, brush your chicken pieces with a sweet and spicy glaze made from honey, soy sauce, and a hint of chili flakes. This adds a sticky, flavorful finish that’s simply irresistible! Just be careful not to add it too early—wait until the chicken is perfectly fried to maintain that crunchy exterior.
With these variations, your chicken fry recipe can be a new adventure every time! Don’t hesitate to mix and match different flavors; after all, cooking is all about having fun in the kitchen. Enjoy experimenting and finding your favorite combinations!
Storage & Reheating Instructions
So, you’ve got some leftover crispy fried chicken? Lucky you! Storing it properly is key to keeping that delicious crunch intact. Here’s how to do it right:
Storing Leftovers
Once your chicken has cooled down, place it in an airtight container. If you have multiple pieces, consider layering them with parchment paper in between to avoid any sticking. This little step helps protect that lovely crispy coating! Store the container in the fridge, where it can last for about 3 to 4 days. Trust me, it’ll be hard to resist the temptation of sneaking a piece before dinner!
Reheating for Maximum Crispiness
Now, when it’s time to enjoy those leftovers, you’ll want to bring back that crispy goodness! The best way to reheat fried chicken is in the oven. Preheat your oven to 375°F (190°C). Place the chicken pieces on a baking sheet lined with parchment paper or a wire rack—this allows the hot air to circulate around the chicken. Bake for about 15-20 minutes, or until it’s heated through and the coating is crispy again. You’ll be amazed at how good it tastes, just like freshly fried!
Alternatively, if you’re in a pinch, you can use the microwave, but keep in mind it won’t be as crispy. Heat it on a microwave-safe plate for about 1 minute, then check. If it needs more time, do so in 30-second intervals. Just be careful not to overdo it, or you’ll end up with rubbery chicken.
With these storage and reheating tips, you can enjoy your delicious chicken fry recipe even after the initial feast! Happy munching!
FAQ Section
Q1: Can I use chicken fillets instead of thighs or legs?
Absolutely! You can use chicken fillets for this recipe, but keep in mind that they may cook faster than thighs or legs. Just be sure to adjust your frying time to prevent them from drying out. Aim for that lovely golden brown color, and use a meat thermometer to check that they’ve reached 165°F (75°C) for perfect doneness!
Q2: How can I make my chicken fry recipes gluten-free?
Great question! You can easily make this chicken fry recipe gluten-free by substituting all-purpose flour with a gluten-free flour blend. Just make sure to check that all your other ingredients, like the buttermilk and spices, are also gluten-free. Your fried chicken will still turn out crispy and delicious!
Q3: What’s the best oil to use for frying chicken?
When it comes to frying chicken, you’ll want to use an oil with a high smoke point. Good options include vegetable oil, canola oil, or peanut oil. These oils can handle the heat without burning and provide that delicious crispy texture we all love!
Q4: How do I ensure my chicken stays crispy after frying?
To keep your chicken crispy, make sure to drain it on paper towels immediately after frying to remove excess oil. Avoid covering it with foil or placing it in a closed container, as that can trap steam and make the coating soggy. If you have leftovers, follow the reheating instructions to bring back that crunch!
Q5: Can I bake the chicken instead of frying it?
Yes, you can definitely bake the chicken for a healthier version! Preheat your oven to 400°F (200°C), place the coated chicken on a baking sheet, and spray it lightly with cooking oil. Bake for about 25-30 minutes, flipping halfway through, until it’s cooked through and golden brown. While it won’t have the same texture as fried chicken, it can still be delicious!

chicken fry recipes that create crunchy happiness every time
- Total Time: 1 hour 15 minutes
- Yield: 4 servings 1x
- Diet: Gluten Free
Description
A simple and delicious chicken fry recipe for crispy, flavorful chicken.
Ingredients
- 1 pound chicken pieces
- 1 cup buttermilk
- 1 cup all-purpose flour
- 1 teaspoon salt
- 1 teaspoon black pepper
- 1 teaspoon paprika
- 1/2 teaspoon garlic powder
- 1/2 teaspoon onion powder
- Oil for frying
Instructions
- Marinate chicken pieces in buttermilk for at least 1 hour.
- In a bowl, mix flour, salt, pepper, paprika, garlic powder, and onion powder.
- Heat oil in a pan over medium heat.
- Coat marinated chicken in the flour mixture.
- Fry chicken in hot oil until golden brown and cooked through, about 10-15 minutes.
- Drain on paper towels and serve hot.
Notes
- Adjust spices to your taste.
- Use a meat thermometer to check chicken doneness.
- For extra crunch, double dip chicken in buttermilk and flour.
- Prep Time: 1 hour
- Cook Time: 15 minutes
- Category: Main Dish
- Method: Frying
- Cuisine: American
Nutrition
- Serving Size: 1 piece
- Calories: 350
- Sugar: 1g
- Sodium: 600mg
- Fat: 20g
- Saturated Fat: 5g
- Unsaturated Fat: 10g
- Trans Fat: 0g
- Carbohydrates: 25g
- Fiber: 1g
- Protein: 20g
- Cholesterol: 70mg
Keywords: chicken fry recipes, crispy chicken, fried chicken


