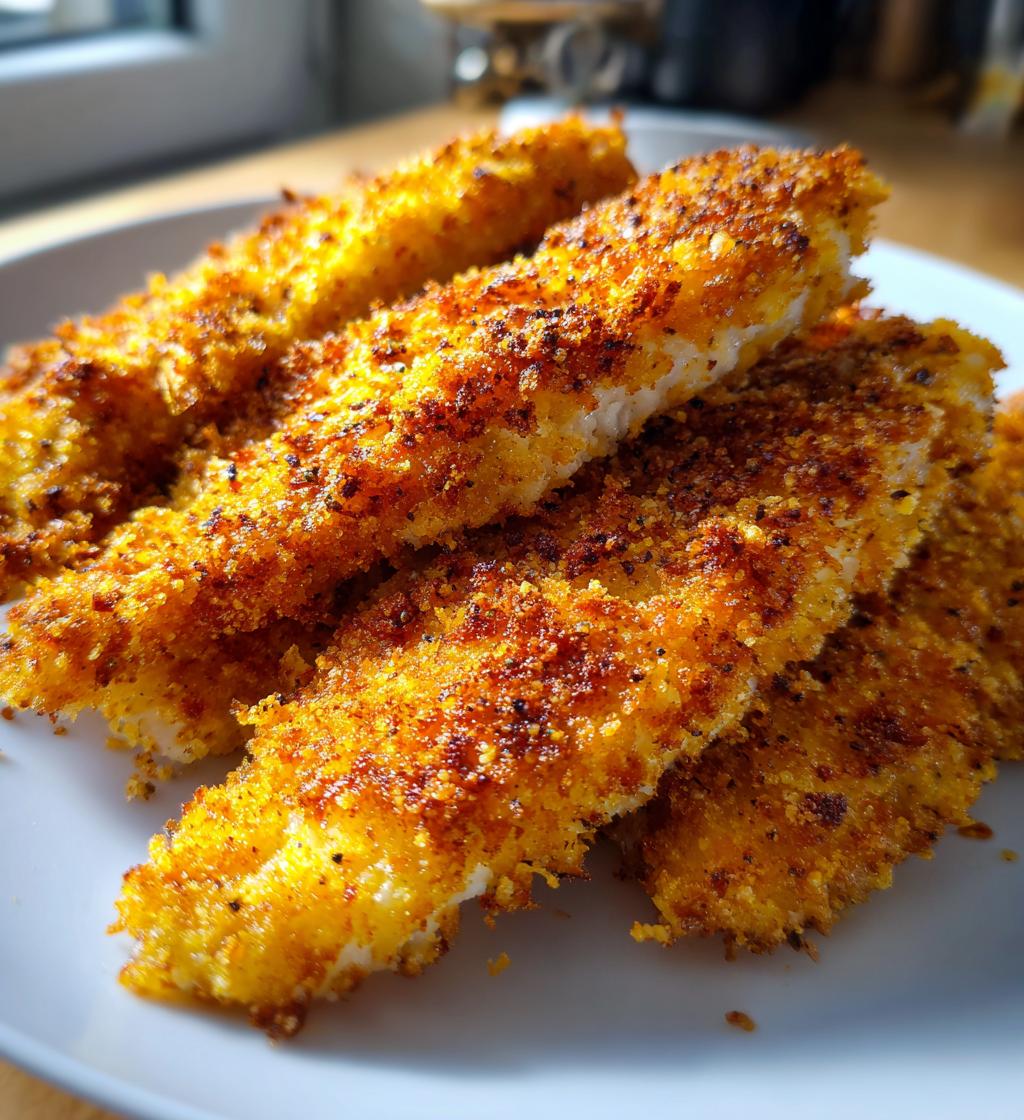
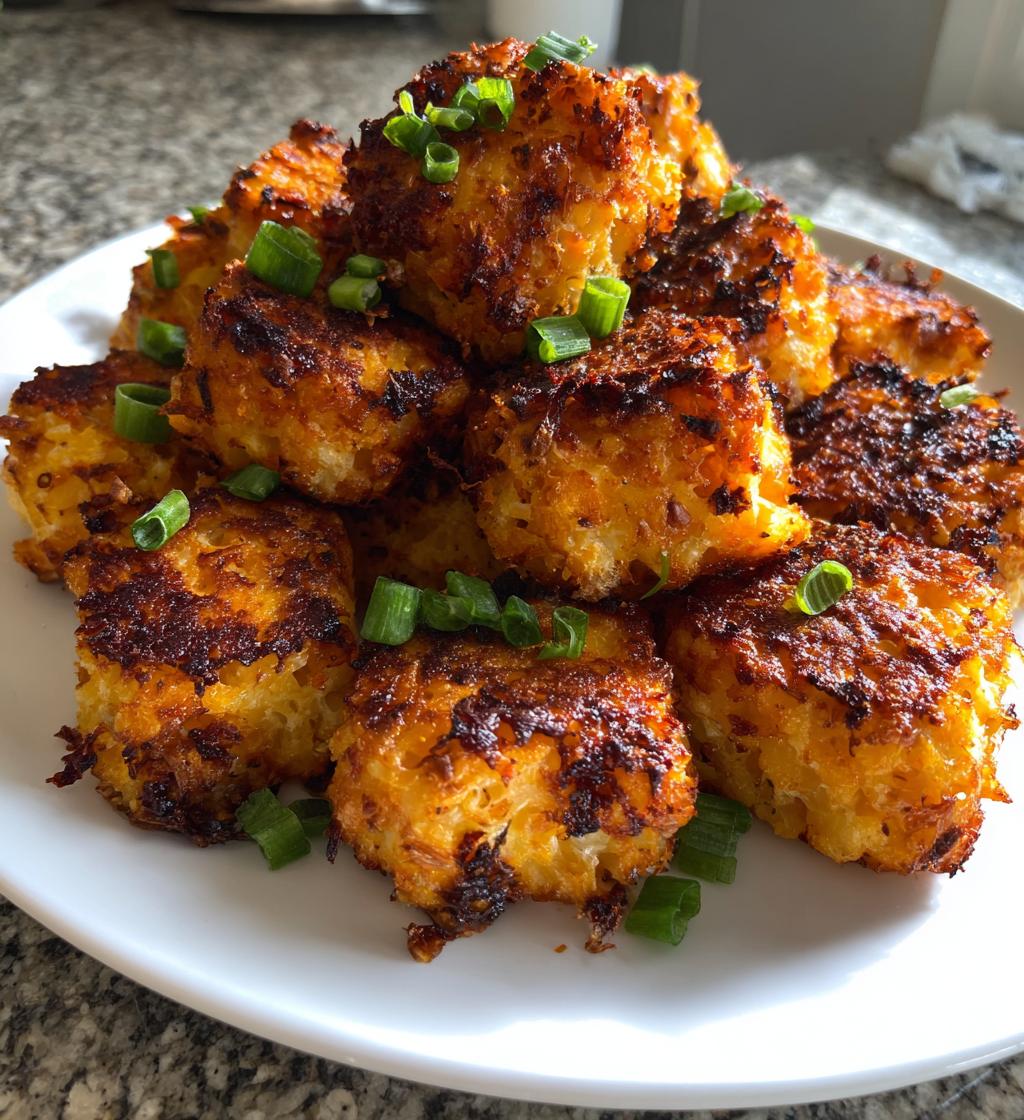
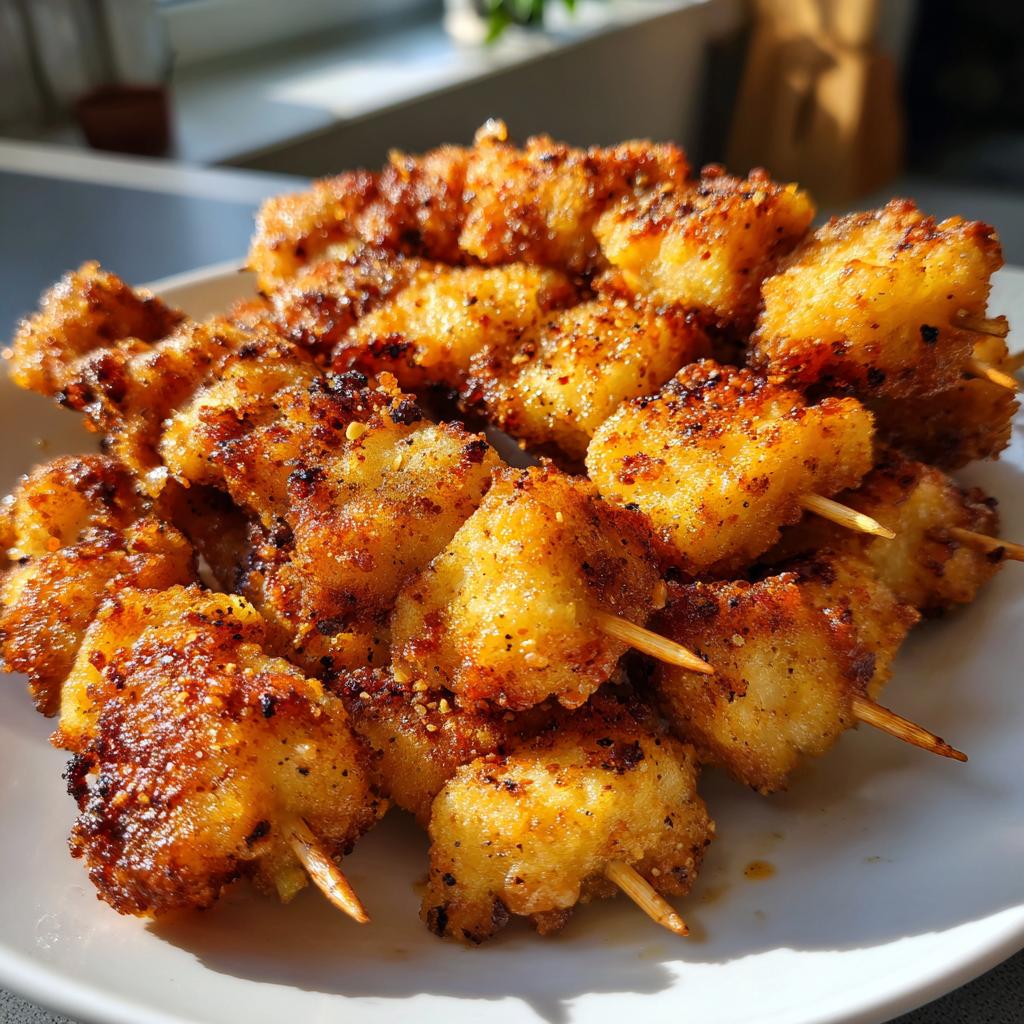
Oh man, there’s just something about crispy treats that makes my heart sing! When I think of snacks, I can’t help but picture the delight of *chicken on a stick fried*. It’s like a party on a stick – who doesn’t love that? The crunch, the juiciness, the sheer joy of popping them in your mouth! I remember the first time I made these for a backyard barbecue. I skewered the chicken, dipped it in that glorious buttermilk batter, and watched my friends’ eyes widen in anticipation as they sizzled away in the hot oil. The smell wafted through the air, and before I knew it, they were gone in a flash! Seriously, there’s just something so fun about finger foods, especially when they’re perfectly crispy and bursting with flavor. They’re not just an appetizer; they’re a reason to gather and celebrate! Trust me, once you try these little beauties, they’ll become a go-to for every gathering or cozy night in. Let’s dive into this delicious adventure together!
Ingredients List
Gather these simple ingredients to whip up the most delicious *chicken on a stick fried* you’ll ever taste. Trust me, each one plays a crucial role in creating that perfect crunch and flavor!
- 1 pound chicken breast, cut into 1-inch cubes
- 1 cup buttermilk
- 1 cup all-purpose flour
- 1 teaspoon garlic powder
- 1 teaspoon onion powder
- 1 teaspoon paprika
- Salt to taste
- Pepper to taste
- Skewers (soak in water for 30 minutes if using wooden ones)
- Oil for frying (enough for deep frying, about 2-3 cups depending on your pan)
Make sure to have everything prepped and ready to go. You’ll love how these ingredients come together to create a mouthwatering snack that’s sure to impress!
How to Prepare Instructions
Get ready for a delicious adventure! Making *chicken on a stick fried* is a breeze when you follow these simple steps. Let’s get started on this crispy delight!
Marinating the Chicken
This step is crucial for achieving that juicy and flavorful chicken we all crave. Start by placing your cubed chicken breast in a bowl and pouring the buttermilk over it. Make sure every piece is coated – this is what tenderizes the chicken and infuses it with flavor. You’ll want to let it marinate for at least 1 hour, but if you can manage it, letting it sit for up to 4 hours will give you even better results. Trust me, the longer it marinates, the more flavorful it becomes!
Preparing the Coating
While the chicken is soaking up all that delicious buttermilk goodness, it’s time to prepare the coating. In a separate bowl, combine the flour, garlic powder, onion powder, paprika, salt, and pepper. Give it a good whisk to ensure everything is evenly mixed. This coating is what gives the chicken that irresistible crunch, so make sure every grain of flour is seasoned well. An even coating is key for that perfect texture, so don’t skip this step!
Assembling the Skewers
Now comes the fun part – threading the chicken onto the skewers! Remove the marinated chicken from the buttermilk, letting the excess drip off. Then, take a skewer and thread a piece of chicken. I like to do 2-3 pieces per skewer, leaving a little space between each piece. This helps them cook evenly. Oops! If you notice the chicken spinning while frying, try piercing it through the sides instead of the center. It keeps everything in place and makes frying a breeze!
Frying the Chicken
Time to get that oil hot! In a deep pan, pour in enough oil for frying (about 2-3 inches deep), and heat it over medium heat. You can test if the oil is ready by dropping in a tiny bit of the flour mixture – if it sizzles, you’re good to go! Carefully place the skewers in the hot oil, frying in batches to avoid overcrowding. Fry them for about 5-7 minutes until they turn a golden brown and are cooked through. To check for doneness, cut into a piece and ensure the juices run clear. You want that perfect crispy exterior and succulent interior!
Draining and Serving
Once cooked, gently remove the skewers from the oil and place them on a plate lined with paper towels to drain any excess oil. This step is essential for keeping them crispy! Serve these delightful chicken skewers hot with your favorite dipping sauce – I recommend a zesty ranch or a spicy sriracha mayo for an extra kick. These treats are perfect for sharing, but I won’t judge if you want to keep them all to yourself!
Why You’ll Love This Recipe
- Quick and easy preparation: With just a little marinating time, you can whip up these tasty skewers in no time!
- Perfect for parties or snacks: Whether it’s game day or a cozy movie night, these chicken on a stick fried treats are a hit!
- Crispy and flavorful: The golden, crunchy coating combined with juicy chicken makes every bite a delight.
- Gluten-free option available: Simply swap out the all-purpose flour for your favorite gluten-free blend, and you’re good to go!
- Customizable: Feel free to mix and match spices or even add a twist with different dipping sauces to suit your taste!
Tips for Success
Alright, friends! To make sure your *chicken on a stick fried* turns out absolutely phenomenal every single time, I’ve got some tried-and-true tips to share with you. Let’s make this adventure even better!
Frying Oil Temperature
Getting the oil temperature just right is crucial for that perfect crispy coating. You’ll want it to be around 350°F (175°C). If you don’t have a thermometer, here’s a little hack: drop in a small piece of bread. If it turns golden brown in about 60 seconds, your oil is ready! If it browns too quickly, lower the heat a bit. If it takes too long, crank it up. Trust me, this step helps avoid soggy chicken!
Variations in Seasoning
Don’t be afraid to get creative with your seasoning! While the garlic powder, onion powder, and paprika combo is a classic, you can easily switch things up. Try adding a pinch of cayenne for some heat, or even a dash of Italian herbs for a different flavor profile. The world is your oyster – season it up to match your cravings!
Avoid Common Mistakes
One common mistake is overcrowding the pan while frying. It can drop the oil temperature and leave you with greasy chicken instead of that glorious crisp. Fry in batches if you need to. Also, remember to let the excess buttermilk drip off before coating the chicken in flour. Too much moisture can lead to clumpy batter, and nobody wants that! Lastly, patience is key – don’t rush the frying process. Let them cook until golden brown for the best texture!
With these tips in hand, you’re on your way to making the crispiest, most flavorful *chicken on a stick fried* that will have everyone coming back for more. Happy frying!
Nutritional Information
Here’s the scoop on the nutritional content of each delicious serving of *chicken on a stick fried*! This is just an estimate to help you keep track of what you’re munching on, so you can indulge with a little peace of mind.
- Serving Size: 1 skewer
- Calories: 250
- Fat: 12g
- Saturated Fat: 2g
- Unsaturated Fat: 8g
- Trans Fat: 0g
- Cholesterol: 60mg
- Sodium: 450mg
- Carbohydrates: 20g
- Fiber: 1g
- Sugar: 1g
- Protein: 18g
These tasty skewers not only satisfy your cravings but also pack a protein punch to keep you feeling full. Just remember, the exact values can vary based on the specific ingredients you use, so feel free to adjust according to your dietary needs. Enjoy every crispy bite!
FAQ Section
Got questions about making the best *chicken on a stick fried*? Don’t worry, I’ve got you covered! Here are some common queries I hear, along with my trusty answers to help you out.
Can I use chicken thighs instead of breasts?
Absolutely! Chicken thighs are a fantastic alternative. They tend to be juicier and have more flavor than chicken breasts, which can be a nice change. Just make sure to cut them into similar-sized pieces to ensure even cooking. You might need to adjust cooking time slightly since thighs can take a bit longer to cook through. But trust me, they’ll be delicious!
What dipping sauces pair well with this dish?
Oh, the options are endless! I love serving these little beauties with a zesty ranch or a spicy sriracha mayo for that extra kick. You could also go for a classic honey mustard or even a sweet and sour sauce. Whatever your taste buds crave, there’s a dipping sauce that will make your *chicken on a stick fried* experience even better!
Can I bake these instead of frying?
You can definitely bake them for a healthier twist! Preheat your oven to 400°F (200°C) and line a baking sheet with parchment paper. Arrange the skewers on the sheet and give them a light spray of cooking oil to help with crispiness. Bake for about 20-25 minutes, flipping them halfway through. Just keep an eye on them to ensure they turn golden brown. They might not be quite as crispy as the fried version, but they’ll still be tasty!
How do I store leftovers?
If you have any leftovers (which is rare, but it happens!), let them cool completely, then place them in an airtight container. Store them in the fridge for up to 3 days. When you’re ready to enjoy them again, reheat in the oven at 350°F (175°C) for about 10-15 minutes to restore that crispy texture. Microwaving will make them soggy, so try to avoid that if you can!
Can I make these ahead of time?
You can prep the chicken and coat it in the flour mixture ahead of time! Just marinate the chicken and coat it, then cover and refrigerate for up to 24 hours before frying. This way, when it’s time to cook, you can just fry them up without any fuss. Perfect for parties or busy weeknights!
Storage & Reheating Instructions
Alright, let’s talk about how to keep those delicious *chicken on a stick fried* leftovers fresh and crispy! First off, if you happen to have any of these tasty skewers left after your gathering (which is a feat in itself!), allow them to cool completely. This is super important because storing them while they’re still warm can trap moisture and make them soggy, and we definitely don’t want that!
Once cooled, place your skewers in an airtight container. If you have a lot, you might want to layer them with parchment paper to keep them from sticking together. Properly stored, they’ll stay good in the fridge for up to 3 days. Just remember, the sooner you eat them, the better they’ll taste!
Now, when it’s time to reheat, you’ll want to bring back that crispy texture. Preheat your oven to 350°F (175°C). Line a baking sheet with parchment paper and arrange the skewers in a single layer. Give them a light spray of cooking oil to help crisp them up again. Bake for about 10-15 minutes, flipping them halfway through to ensure they heat evenly. You’ll know they’re ready when they’re hot throughout and the coating is nice and crispy again!
Avoid using the microwave if you can – it tends to make things a bit soggy. Trust me, reheating in the oven is the way to go for that delightful crunch! Enjoy your crispy delights all over again!

Chicken on a Stick Fried: 5 Crispy Joys to Savor
- Total Time: 1 hour 15 minutes
- Yield: 4 servings 1x
- Diet: Gluten Free
Description
Crispy fried chicken on a stick, perfect for snacking.
Ingredients
- 1 pound chicken breast, cut into cubes
- 1 cup buttermilk
- 1 cup flour
- 1 teaspoon garlic powder
- 1 teaspoon onion powder
- 1 teaspoon paprika
- Salt to taste
- Pepper to taste
- Skewers
- Oil for frying
Instructions
- Marinate the chicken in buttermilk for at least 1 hour.
- In a bowl, mix flour, garlic powder, onion powder, paprika, salt, and pepper.
- Remove chicken from buttermilk and coat in the flour mixture.
- Thread the coated chicken onto skewers.
- Heat oil in a deep pan over medium heat.
- Fry the skewers until golden brown and cooked through, about 5-7 minutes.
- Drain on paper towels.
Notes
- Ensure the oil is hot before frying.
- You can add spices to the flour for more flavor.
- Serve with your favorite dipping sauce.
- Prep Time: 1 hour
- Cook Time: 15 minutes
- Category: Appetizer
- Method: Frying
- Cuisine: American
Nutrition
- Serving Size: 1 skewer
- Calories: 250
- Sugar: 1g
- Sodium: 450mg
- Fat: 12g
- Saturated Fat: 2g
- Unsaturated Fat: 8g
- Trans Fat: 0g
- Carbohydrates: 20g
- Fiber: 1g
- Protein: 18g
- Cholesterol: 60mg
Keywords: chicken on a stick fried, fried chicken skewers, crispy chicken snack