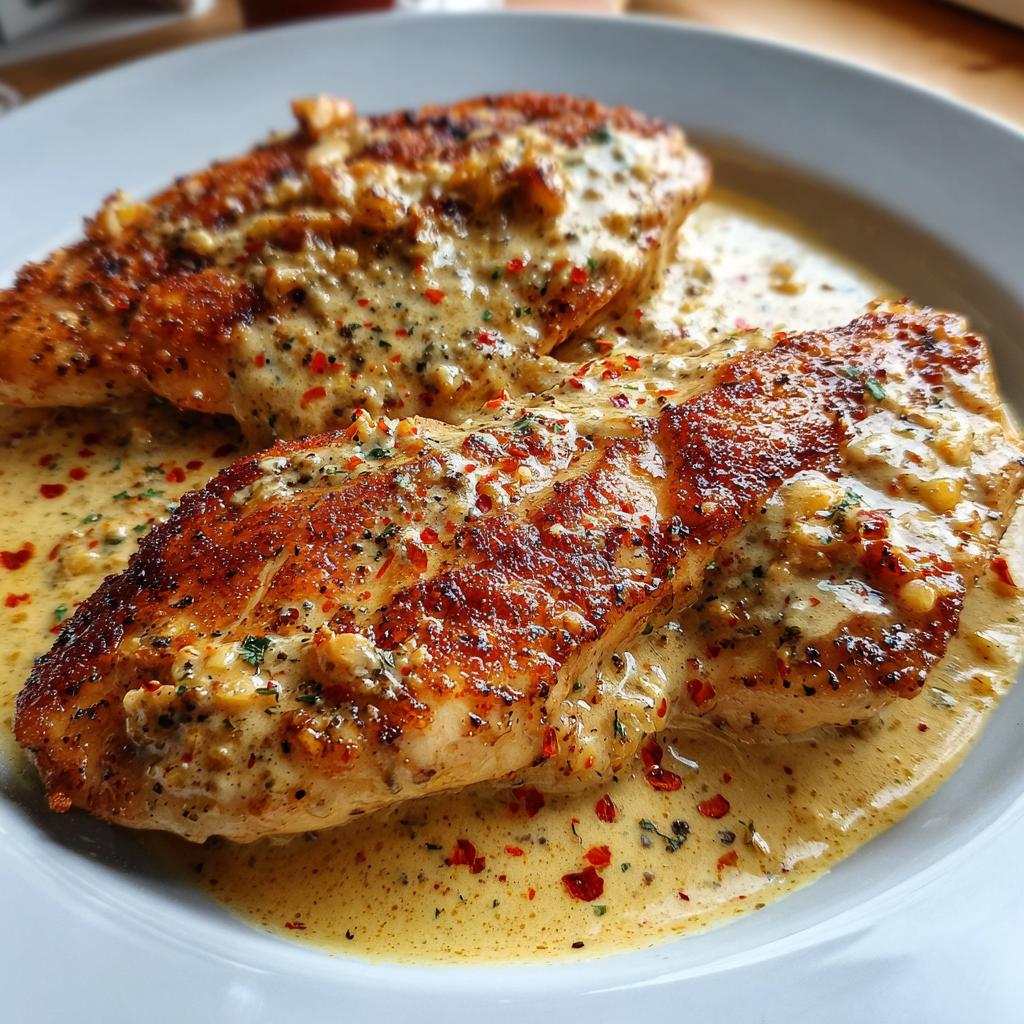
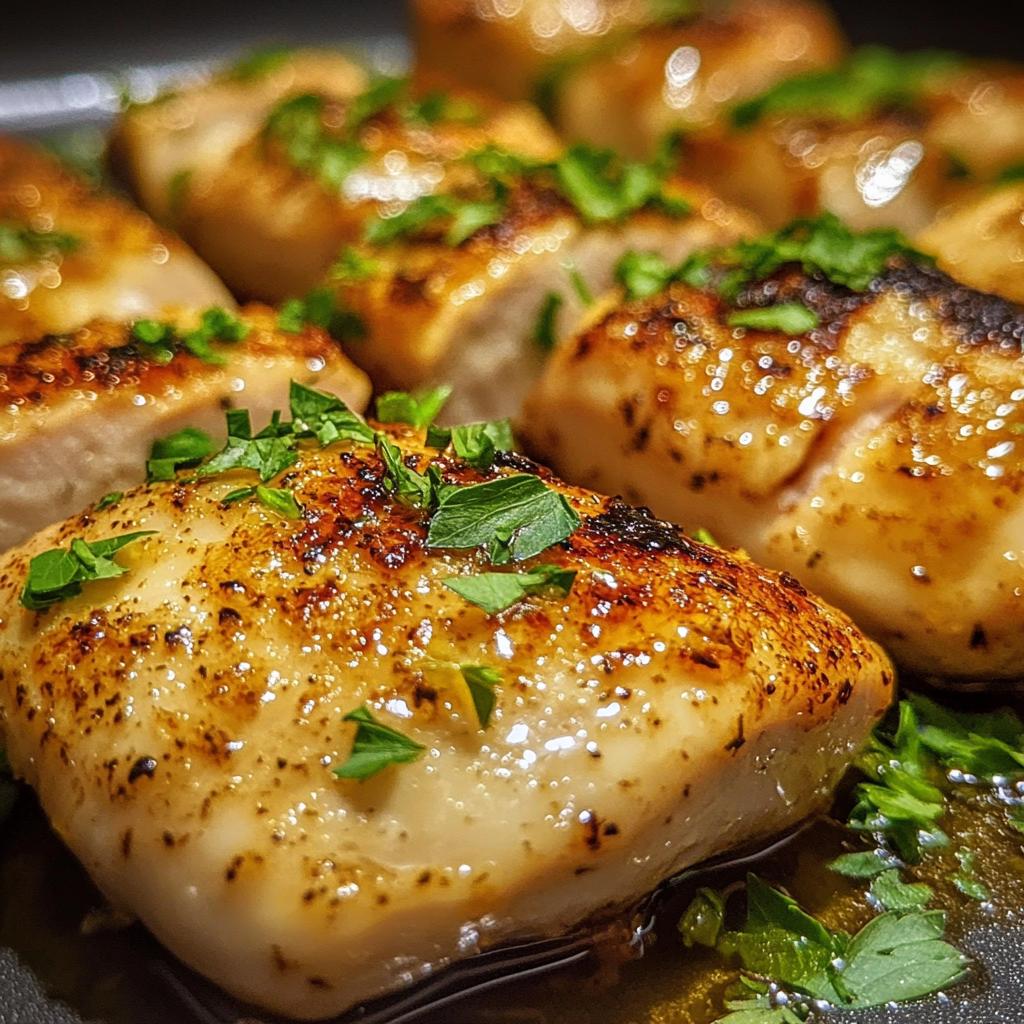
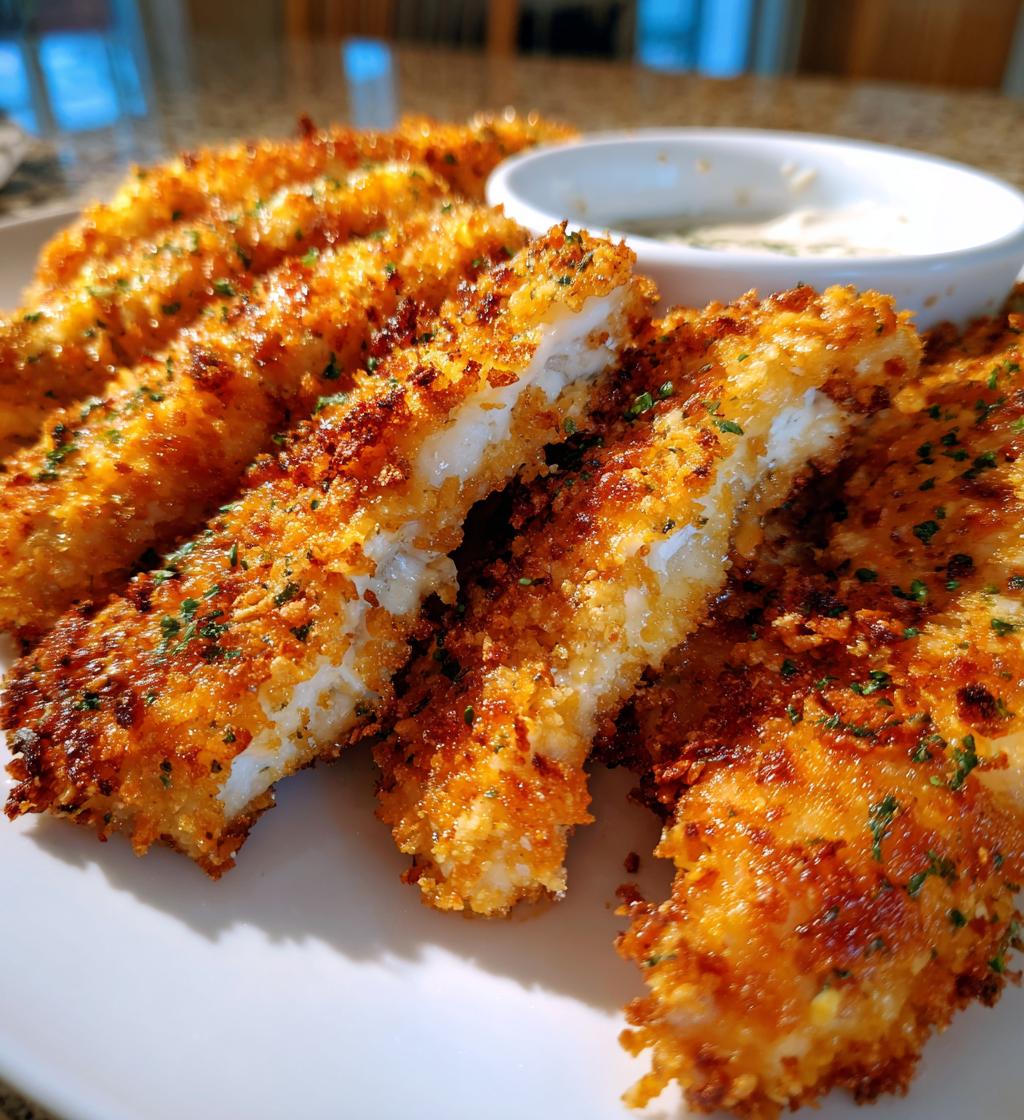
Oh, chicken tenders! These golden, crispy delights are the ultimate comfort food, aren’t they? It’s hard to resist that satisfying crunch followed by the juicy tenderness inside. They’re a crowd-pleaser at family dinners, parties, and even just a cozy night in. I remember the first time I tried my hand at making them from scratch; I was so excited! I gathered all my ingredients, got a bit messy with flour, and ended up with the most delicious chicken tenders that disappeared in seconds. My kids couldn’t get enough, and now it’s become a go-to recipe in our house. Whether you’re dipping them in honey mustard, ketchup, or a spicy ranch, there’s something magical about how versatile and fun chicken tenders can be. Trust me, once you make them yourself, you’ll never want to go back to store-bought again!
Ingredients for Chicken Tenders
To make the most delicious chicken tenders, you’ll need just a few simple ingredients that pack a punch of flavor. Here’s what you’ll need:
- 1 lb chicken fillet, cut into strips
- 1 cup all-purpose flour
- 2 large eggs, beaten
- 1 cup breadcrumbs (I love using panko for extra crunch!)
- 1 tsp salt
- 1/2 tsp black pepper
- 1 tsp paprika, for that delightful touch of warmth
- 1/2 cup oil for frying (vegetable or canola oil works best)
These ingredients come together to create that perfect crispy coating around the juicy chicken. The key is in the quality of the chicken fillet and the crunchiness of the breadcrumbs, so don’t skimp on those! Happy cooking!
How to Prepare Chicken Tenders
Now that you have your ingredients, let’s dive into the fun part: preparing those delicious chicken tenders! Follow these easy steps, and you’ll have the crispiest, juiciest tenders ready in no time!
Step 1: Preheat the Oil
First things first, you need to preheat your oil. This step is crucial because the right temperature ensures that your chicken tenders fry up nice and crispy without soaking up too much oil. Heat your frying pan over medium heat and add about 1/2 cup of oil. You’ll know it’s ready when a tiny drop of water sizzles when it hits the oil. This usually takes about 5 minutes, so keep an eye on it!
Step 2: Season the Flour
While the oil is heating, let’s season the flour! In a shallow dish, combine 1 cup of all-purpose flour with 1 tsp of salt, 1/2 tsp of black pepper, and 1 tsp of paprika. Mixing these ingredients together is essential because it infuses the chicken with flavor right from the start. Make sure it’s well-combined so that every bite has that delicious seasoning!
Step 3: Dredging the Chicken
Now for the fun part: dredging the chicken! Take your chicken strips and first coat them in the seasoned flour, ensuring they are evenly covered. Next, dip them into the beaten eggs, letting any excess drip off. Finally, roll them in the breadcrumbs, pressing gently to make sure they stick. This three-step process creates that amazing crispy coating we all love, so don’t rush it!
Step 4: Frying the Chicken Tenders
Once your chicken is coated, it’s time to fry! Carefully place the tenders in the hot oil, making sure not to overcrowd the pan. Fry them for about 5-7 minutes on each side, or until they’re golden brown and cooked through. You can tell they’re done when they’re beautifully golden and the internal temperature reaches 165°F. Ah, the wonderful smell of frying chicken!
Step 5: Draining and Serving
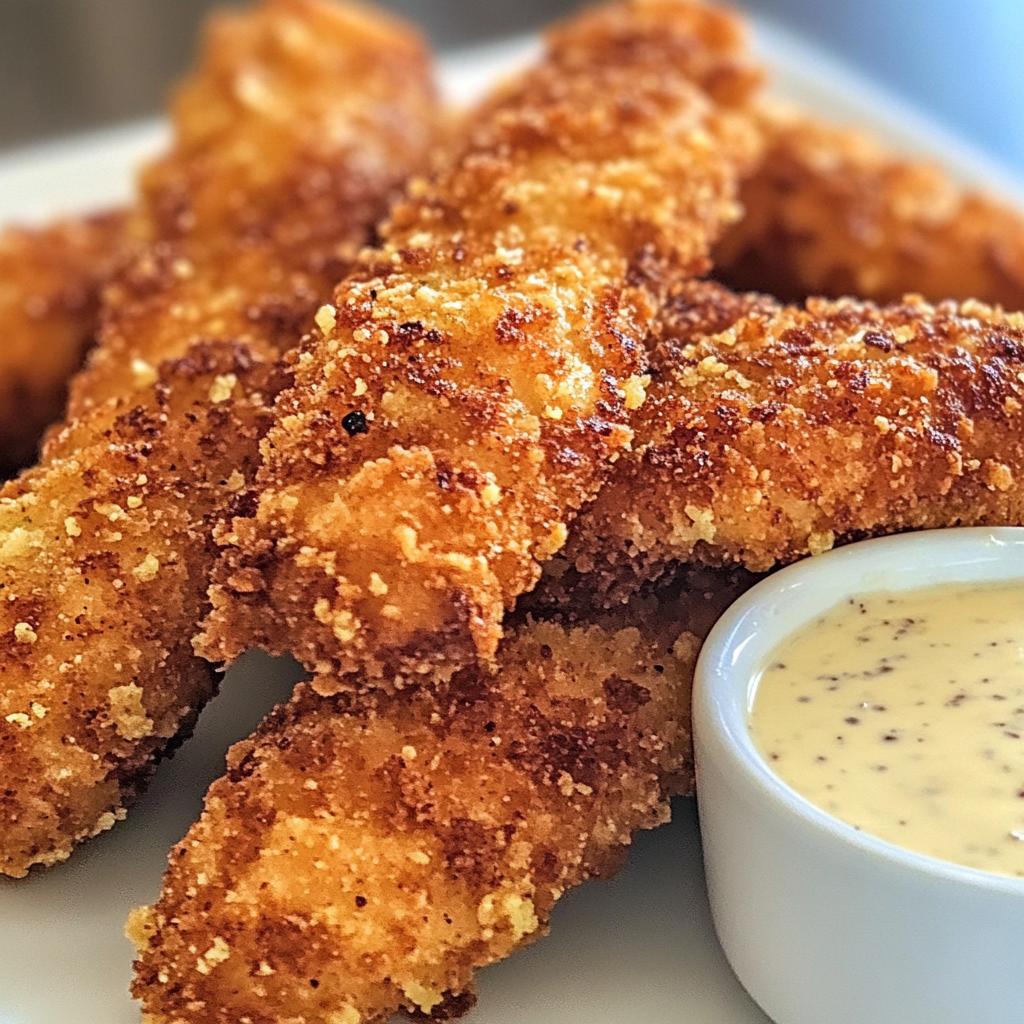
When they’re perfectly golden, use tongs to remove the chicken tenders from the oil and let them drain on a plate lined with paper towels. This step helps soak up any excess oil, keeping them crispy. Now, serve them hot with your favorite dipping sauces, like honey mustard, ranch, or even a spicy sriracha mayo. Your taste buds will thank you!
Tips for Success with Chicken Tenders
To make sure your chicken tenders are the crispiest they can be, here are a few handy tips that I’ve learned along the way! First, consider marinating your chicken in buttermilk for a few hours or even overnight. This not only tenderizes the meat but also adds a lovely flavor that shines through. If you want that extra crunch, opt for panko breadcrumbs instead of regular ones; they create a lighter, airier texture that’s just divine!
Another little trick is to keep your oil at the right temperature while frying. If it’s too hot, the outside will burn before the inside cooks; too cool, and they’ll absorb too much oil. Lastly, don’t rush the dredging process—make sure each piece is well-coated for that perfect crispy bite. You’ve got this!
Variations for Chicken Tenders
There are so many fun ways to switch up your chicken tenders! For a spicy kick, try adding cayenne pepper or chili powder to your flour mixture. If you’re feeling adventurous, a little garlic powder and Italian seasoning can give them a deliciously herby twist. Want to change the marinade game? Soak your chicken strips in lemon juice and herbs or even a tangy barbecue sauce before dredging for an exciting flavor boost!
You can also experiment with different types of breadcrumbs, like crushed tortilla chips for a Southwestern vibe or seasoned breadcrumbs for an extra punch. The possibilities are endless, so don’t hesitate to get creative!
Storage & Reheating Instructions
Storing your leftover chicken tenders properly is key to keeping them delicious. Once they’ve cooled down, place them in an airtight container and pop them in the fridge. They’ll stay fresh for about 3-4 days, but trust me, they’re usually gone before then!
When it comes to reheating, avoid the microwave if you want to maintain that crispy texture. Instead, preheat your oven to 375°F (190°C) and place the chicken tenders on a baking sheet lined with parchment paper. Bake for about 10-15 minutes, turning them halfway through to get all sides crispy again. You can also use an air fryer for an even quicker method, cooking them at 350°F (175°C) for about 5-7 minutes. This way, those tenders will taste almost as good as when they were freshly made!
Nutritional Information for Chicken Tenders
When it comes to enjoying chicken tenders, it’s nice to know what you’re putting into your body! Here’s a breakdown of the typical nutritional values per serving, which equals about four tenders. Keep in mind that these are estimates, but they’ll give you a good idea of what to expect:
- Calories: 400
- Protein: 30g
- Fat: 20g
- Saturated Fat: 3g
- Trans Fat: 0g
- Cholesterol: 80mg
- Sodium: 600mg
- Carbohydrates: 30g
- Fiber: 2g
- Sugar: 1g
These tasty chicken tenders provide a good balance of protein and flavor, making them a satisfying meal option. Just remember, the way you prepare and serve them can affect these values, especially if you go heavy on the dipping sauces. Enjoy every crispy bite!
FAQ About Chicken Tenders
Got questions about making the perfect chicken tenders? Don’t worry; I’ve got you covered! One common question is, “What’s the best way to cook chicken tenders?” You can fry them for that classic crispy exterior, but if you prefer a healthier option, baking them at 400°F (200°C) for about 20 minutes can yield tasty results, too! Just make sure to spray them lightly with oil to help achieve that golden color.
Another popular question is about ingredient substitutions. If you’re out of breadcrumbs, crushed cornflakes or even finely chopped nuts can work as great alternatives! For gluten-free options, use almond flour or gluten-free breadcrumbs. And if you want to switch up the flavor, try marinating the chicken in yogurt or spicy sauces for extra zing.
Finally, if you’re looking for ways to make them healthier, consider air frying instead of deep frying. It cuts down on oil while still giving you that satisfying crunch! Remember, you can always serve them with a side of veggies or a fresh salad to balance things out. Happy cooking!
Print
Chicken Tenders: 5 Secrets to Perfectly Crispy Delights
- Total Time: 25 minutes
- Yield: 4 servings 1x
- Diet: Gluten Free
Description
Crispy and juicy chicken tenders, perfect for dipping.
Ingredients
- 1 lb chicken fillet, cut into strips
- 1 cup flour
- 2 eggs, beaten
- 1 cup breadcrumbs
- 1 tsp salt
- 1/2 tsp pepper
- 1 tsp paprika
- 1/2 cup oil for frying
Instructions
- Preheat the oil in a frying pan over medium heat.
- Season flour with salt, pepper, and paprika.
- Dip chicken strips in flour, then in beaten eggs, and finally in breadcrumbs.
- Fry chicken tenders until golden brown on both sides.
- Remove from oil and let drain on paper towels.
- Serve hot with your favorite dipping sauce.
Notes
- For extra flavor, marinate chicken in buttermilk for a few hours.
- Use panko breadcrumbs for a crunchier texture.
- Store leftovers in an airtight container in the fridge.
- Prep Time: 15 minutes
- Cook Time: 10 minutes
- Category: Main Course
- Method: Frying
- Cuisine: American
Nutrition
- Serving Size: 4 tenders
- Calories: 400
- Sugar: 1g
- Sodium: 600mg
- Fat: 20g
- Saturated Fat: 3g
- Unsaturated Fat: 15g
- Trans Fat: 0g
- Carbohydrates: 30g
- Fiber: 2g
- Protein: 30g
- Cholesterol: 80mg
Keywords: chicken tenders, fried chicken, easy chicken recipes