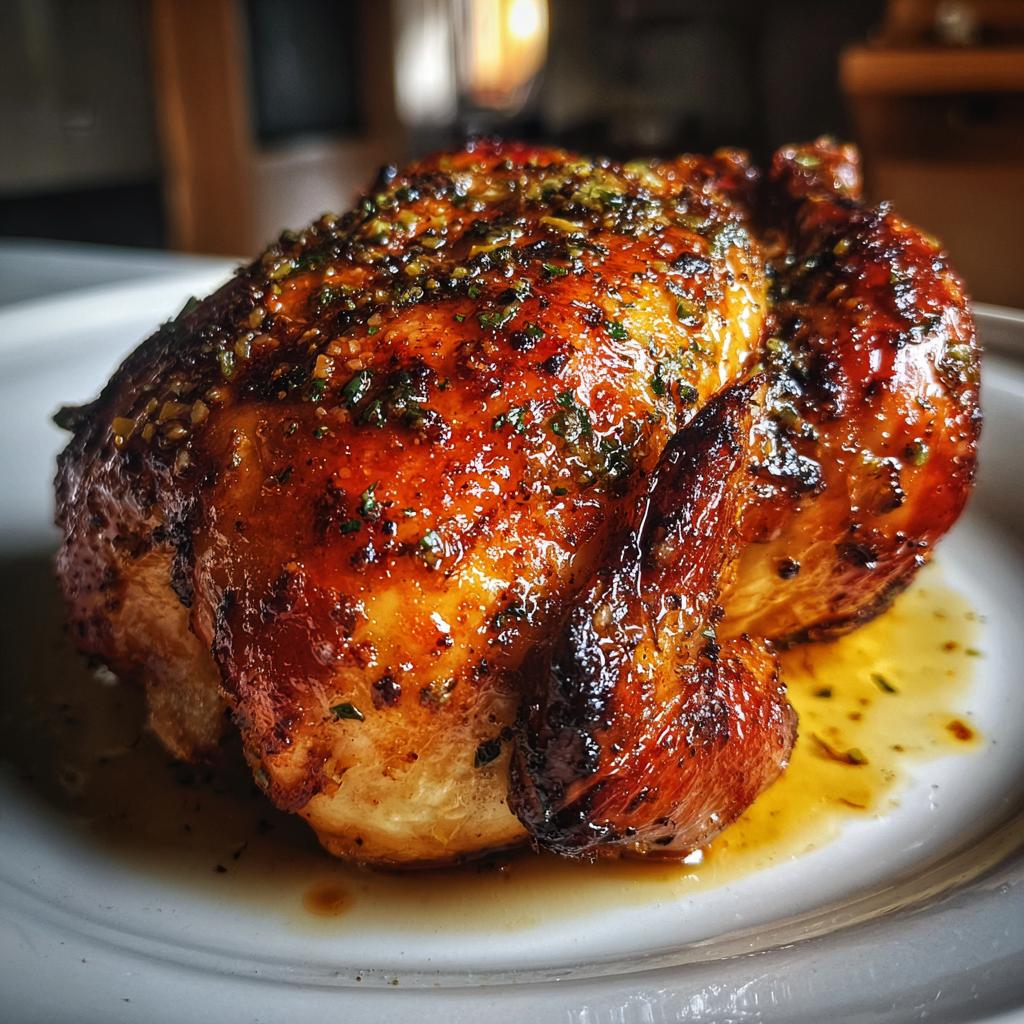
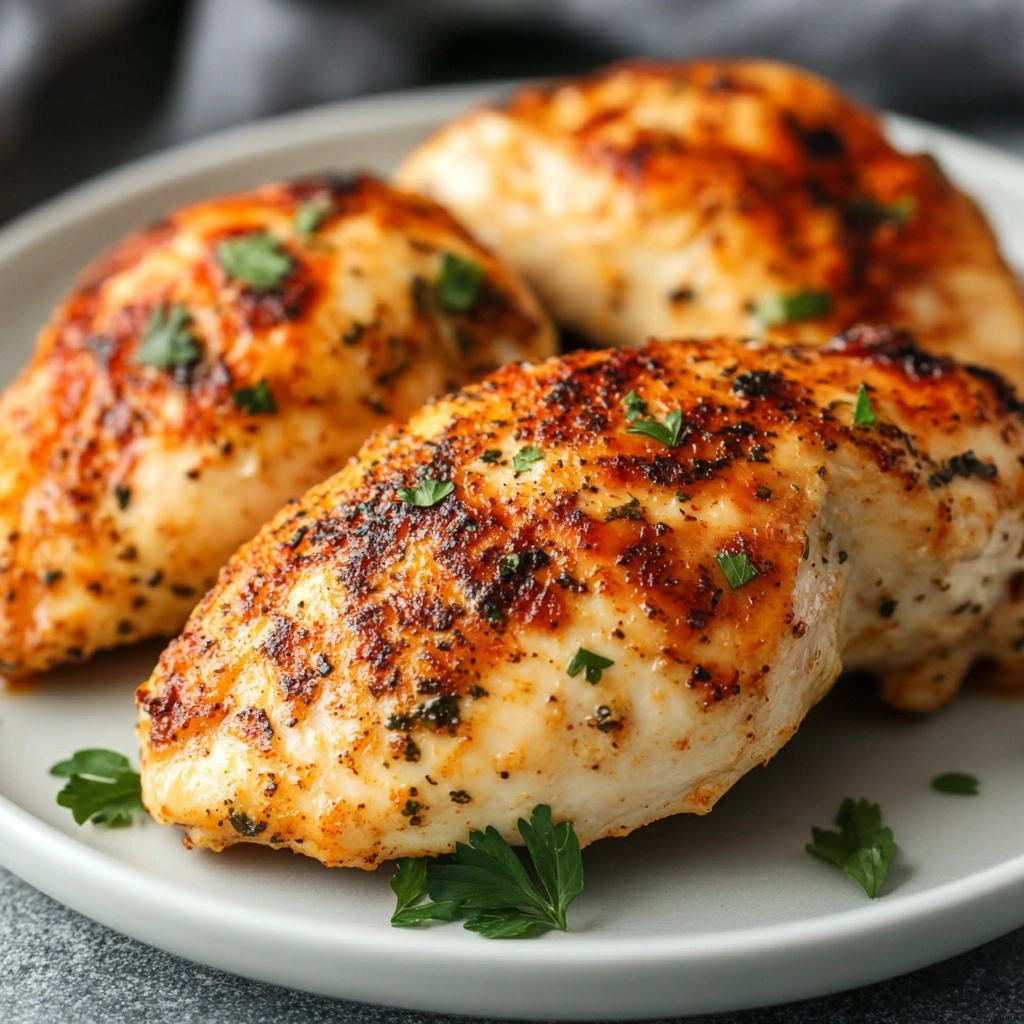
As a passionate home cook, I find joy in creating delicious meals that are not only easy to prepare but also packed with flavor. One of my all-time favorites is the Classic Air Fryer Chicken Breast. This dish has become a staple in my kitchen, and I can’t wait to share why it should be in yours too!
Ingredients for Classic Air Fryer Chicken Breast
Before we embark on this delicious journey, let’s gather the essential ingredients for our Classic Air Fryer Chicken Breast. Each component plays a vital role in creating that mouthwatering flavor and texture that I absolutely love. Here’s what you’ll need:
- 🍗 Chicken Breasts: 4 pieces (about 1.5 lbs or 680 g) – The star of the show! I prefer using boneless, skinless chicken breasts for their tenderness and quick cooking time.
- 🛢️ Olive Oil: 2 tablespoons – This adds moisture and helps the seasoning stick. Plus, it gives the chicken a lovely golden color.
- 🧄 Garlic Powder: 1 teaspoon – A must-have for that savory kick! It’s like a warm hug for your taste buds.
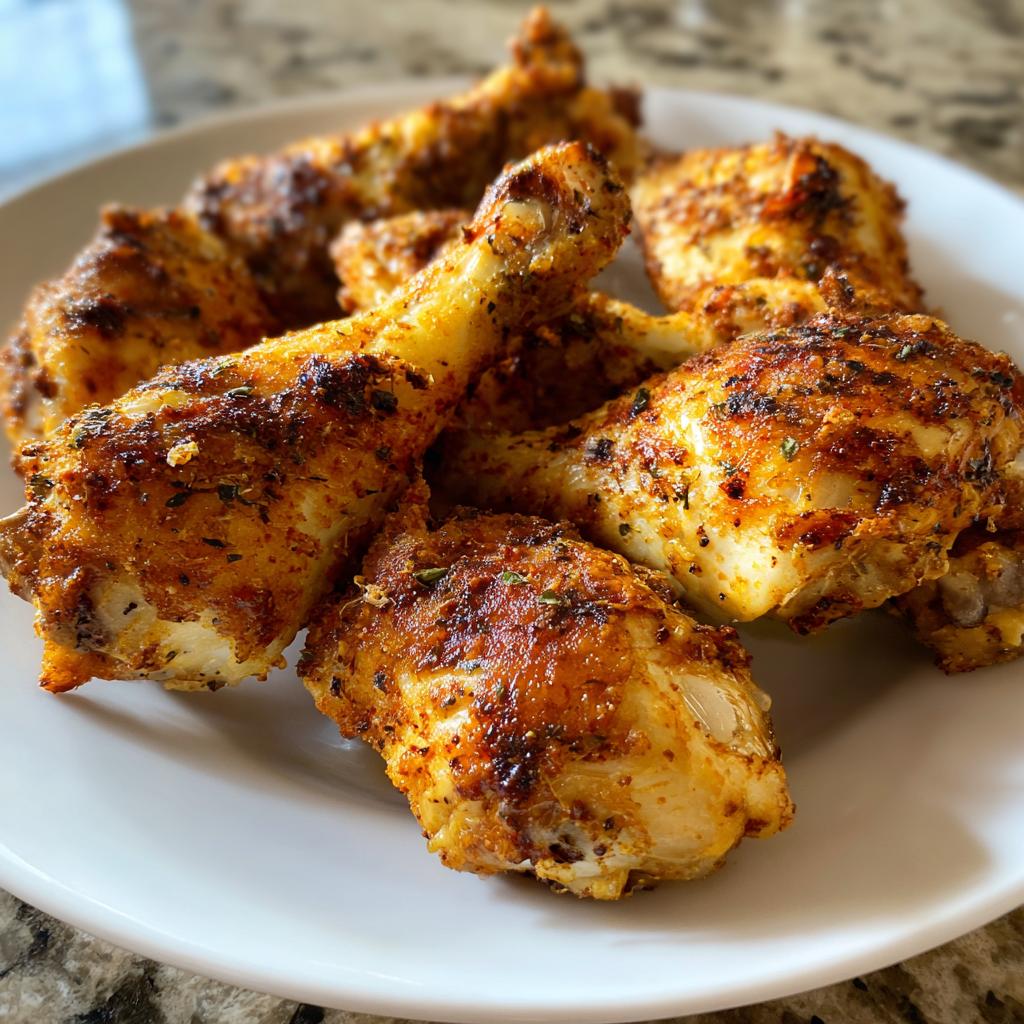
- 🌶️ Paprika: 1 teaspoon – This spice not only adds flavor but also a beautiful reddish hue to the chicken. It’s like painting a masterpiece on your plate!
- 🧂 Salt: 1 teaspoon (or to taste) – Essential for enhancing all the flavors. I always say, a little salt goes a long way!
- 🧂 Pepper: 1/2 teaspoon (or to taste) – A dash of pepper adds a subtle heat that balances the dish perfectly.
As I gather these ingredients, I can’t help but feel excited about the delicious meal ahead. Each item contributes to the overall experience, and I love how simple yet flavorful this recipe is. It reminds me of the time I cooked this for my friends during a cozy dinner party. The compliments kept pouring in, and I felt like a culinary rockstar!
Now that we have our ingredients ready, let’s move on to the tools we’ll need to make this magic happen!

Tools Needed for Classic Air Fryer Chicken Breast
Before we dive into the cooking process, let’s talk about the tools that will make our Classic Air Fryer Chicken Breast a reality. Having the right equipment not only makes cooking easier but also enhances the overall experience. Here’s what you’ll need:
- 🛠️ Air Fryer: This is the star of the show! I absolutely love my air fryer for its ability to cook food quickly while keeping it crispy. Make sure it has enough capacity to fit your chicken breasts in a single layer.
- 🥣 Mixing Bowl: A large bowl is essential for combining the olive oil and seasonings. I often use a glass bowl so I can see the vibrant colors of the spices mixing together.
- 🧂 Measuring Spoons: Accurate measurements are key to achieving the perfect flavor. I always keep a set of measuring spoons handy for my cooking adventures.
- 🧊 Meat Thermometer: This handy tool ensures that your chicken reaches the safe internal temperature of 165°F (75°C). It’s a lifesaver for avoiding overcooked or undercooked chicken!
- 🧼 Paper Towels: These are great for patting the chicken dry before seasoning. A dry surface helps achieve that coveted crispy texture.
- 🔪 Cutting Board and Knife: After cooking, you’ll want to slice your chicken for serving. A good cutting board and sharp knife make this task a breeze.
As I gather these tools, I can’t help but reminisce about the first time I used my air fryer. I was a bit skeptical at first, but once I tasted that perfectly cooked chicken, I was hooked! The ease of cleanup and the delicious results made it a must-have in my kitchen.
With our tools ready, we’re all set to embark on this culinary journey. Let’s move on to the preparation steps that will lead us to that mouthwatering Classic Air Fryer Chicken Breast!
Preparation of Classic Air Fryer Chicken Breast
Now that we have our ingredients and tools ready, it’s time to roll up our sleeves and dive into the preparation of the Classic Air Fryer Chicken Breast. This is where the magic happens! Each step is simple yet crucial for achieving that juicy, flavorful chicken we all crave. Let’s get started!
Step 1: Preparing the Chicken
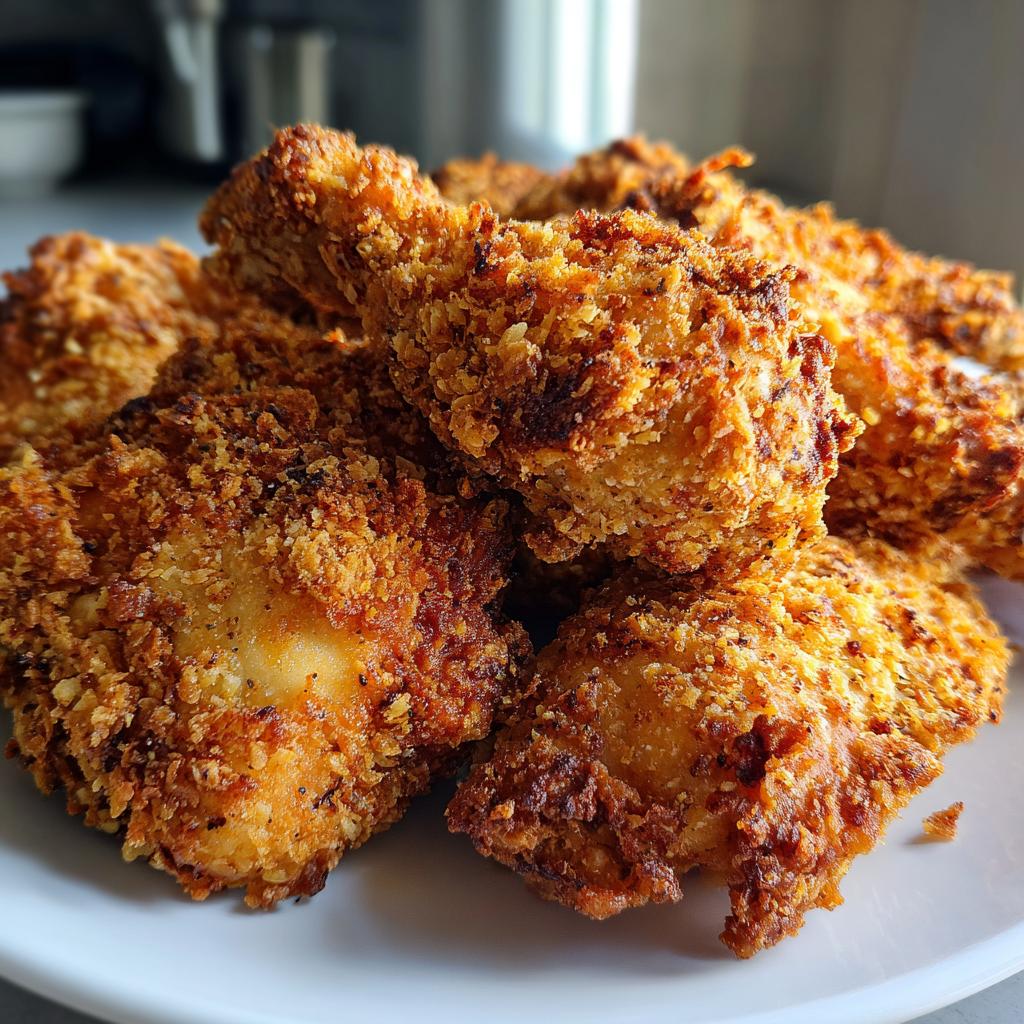
First things first, I always make sure to pat the chicken breasts dry with paper towels. This step might seem small, but it’s essential for achieving that crispy exterior. Think of it like giving your chicken a little spa treatment! Removing excess moisture allows the seasoning to stick better and helps the chicken crisp up beautifully in the air fryer.
Step 2: Seasoning the Chicken
Next, it’s time to bring out the flavors! In a large mixing bowl, I combine the olive oil, garlic powder, paprika, salt, and pepper. The aroma of the spices mingling together is simply delightful! I then add the chicken breasts to the bowl and toss them until they are evenly coated with the seasoning mixture. It’s like giving each piece a warm hug of flavor. I always make sure every inch is covered because, let’s be honest, we want every bite to be bursting with taste!
Step 3: Preheating the Air Fryer
While I’m busy seasoning the chicken, I like to preheat my air fryer to 375°F (190°C). Preheating is a crucial step that ensures the chicken cooks evenly and gets that lovely golden-brown color. I usually set a timer for about 5 minutes. During this time, I can clean up my workspace or even sneak a taste of the seasoning mixture—just to make sure it’s as delicious as I remember!
Step 4: Cooking the Chicken
Once the air fryer is preheated, it’s time to arrange the chicken. I place the seasoned chicken breasts in a single layer in the air fryer basket, making sure not to overcrowd them. This allows the hot air to circulate freely, ensuring even cooking. I set the timer for 12-15 minutes, flipping the chicken halfway through. The anticipation builds as I wait for that delightful sizzle! The smell wafting through my kitchen is enough to make anyone’s mouth water.
Step 5: Checking for Doneness
After the cooking time is up, I always check the chicken’s internal temperature with my trusty meat thermometer. It should read 165°F (75°C) to ensure it’s safe to eat. If it’s not quite there yet, I pop it back in for a few more minutes. Once it’s done, I remove the chicken from the air fryer and let it rest for about 5 minutes. This resting period is crucial as it allows the juices to redistribute, making the chicken even juicier and more tender. Trust me, it’s worth the wait!
And there you have it! The preparation steps for the Classic Air Fryer Chicken Breast are complete. I can already picture the golden-brown chicken on my plate, ready to be enjoyed. Let’s move on to some serving suggestions that will take this dish to the next level!
Serving Suggestions for Classic Air Fryer Chicken Breast
Now that we’ve prepared our Classic Air Fryer Chicken Breast, it’s time to think about how to serve it. This dish is not only delicious on its own, but it also pairs beautifully with a variety of sides and can be transformed into different meals. Let me share some of my favorite serving suggestions that will elevate your dining experience!
Pairing with Sides
When it comes to sides, the options are endless! I love to create a colorful plate that not only looks appealing but also complements the flavors of the chicken. Here are a few of my go-to side dishes:
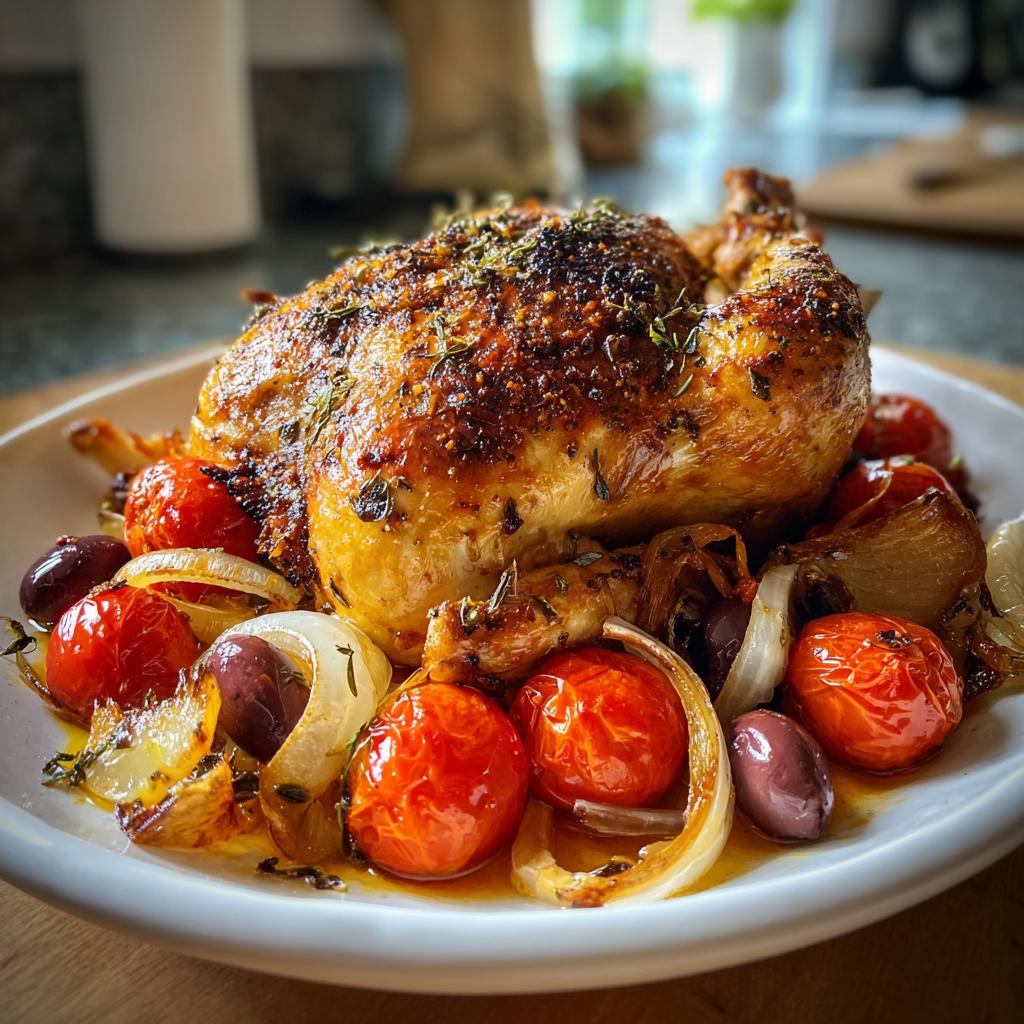
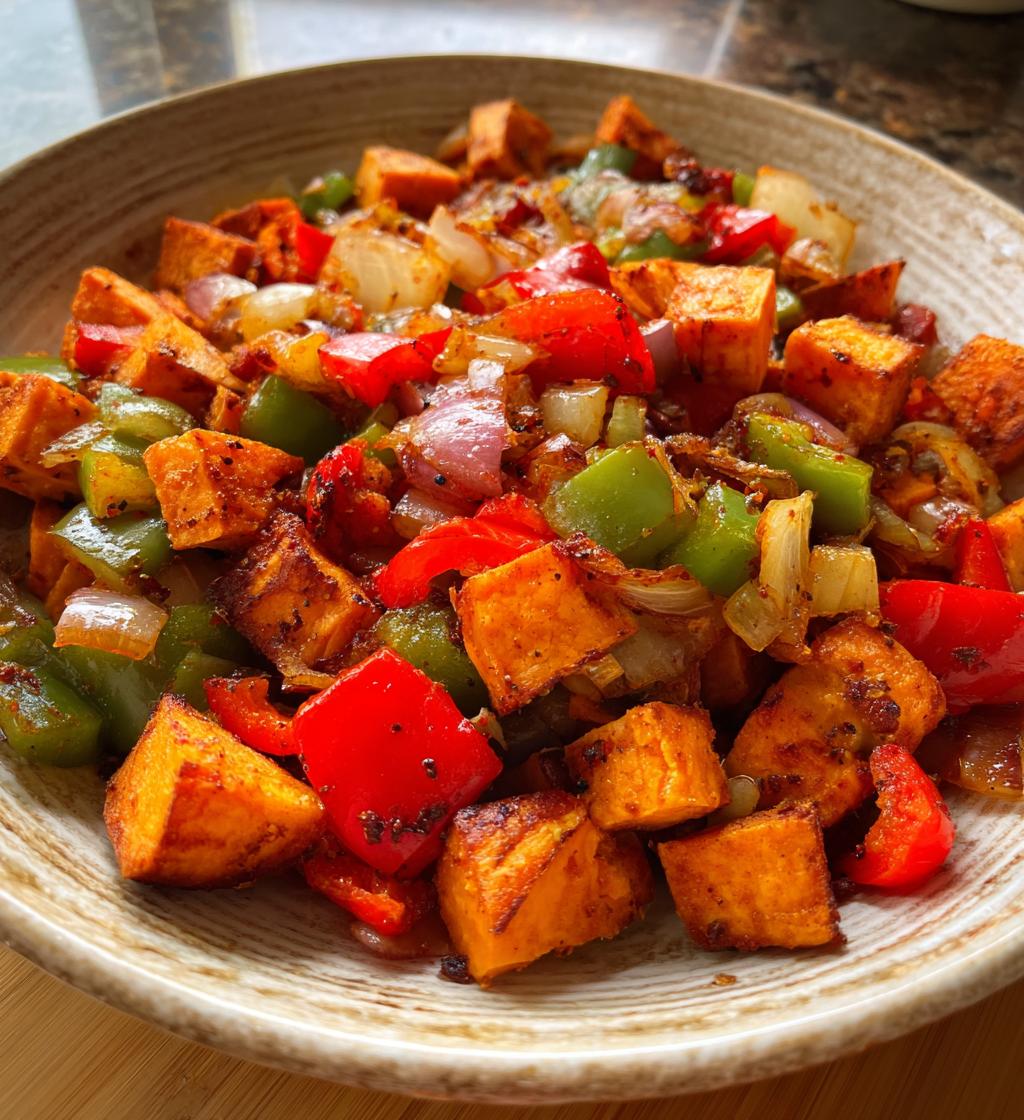
- 🥗 Roasted Vegetables: A medley of seasonal veggies like carrots, bell peppers, and zucchini tossed in olive oil and herbs makes for a vibrant side. The sweetness of the roasted veggies pairs perfectly with the savory chicken.
- 🍚 Quinoa or Rice: A fluffy bed of quinoa or rice is a fantastic way to soak up the juices from the chicken. I often add a sprinkle of herbs or a squeeze of lemon for an extra zing!
- 🥔 Mashed Potatoes: Creamy mashed potatoes are a classic comfort food that never disappoints. I like to whip mine with a bit of garlic for a flavor boost that complements the chicken beautifully.
- 🥬 Fresh Salad: A crisp salad with mixed greens, cherry tomatoes, and a light vinaigrette adds a refreshing crunch. It’s like a burst of freshness that balances the richness of the chicken.
Whenever I serve this chicken, I love to mix and match these sides based on what I have on hand. It’s a great way to keep things interesting and cater to everyone’s tastes. Plus, it makes for a colorful and inviting table!
Creative Serving Ideas
Now, let’s get a little creative! The Classic Air Fryer Chicken Breast can be the star of many dishes beyond just a main course. Here are some fun and inventive ways to serve it:
- 🌯 Chicken Wraps: Slice the chicken and wrap it in a tortilla with your favorite toppings like lettuce, tomatoes, and avocado. A drizzle of ranch or a spicy sauce takes it to the next level!
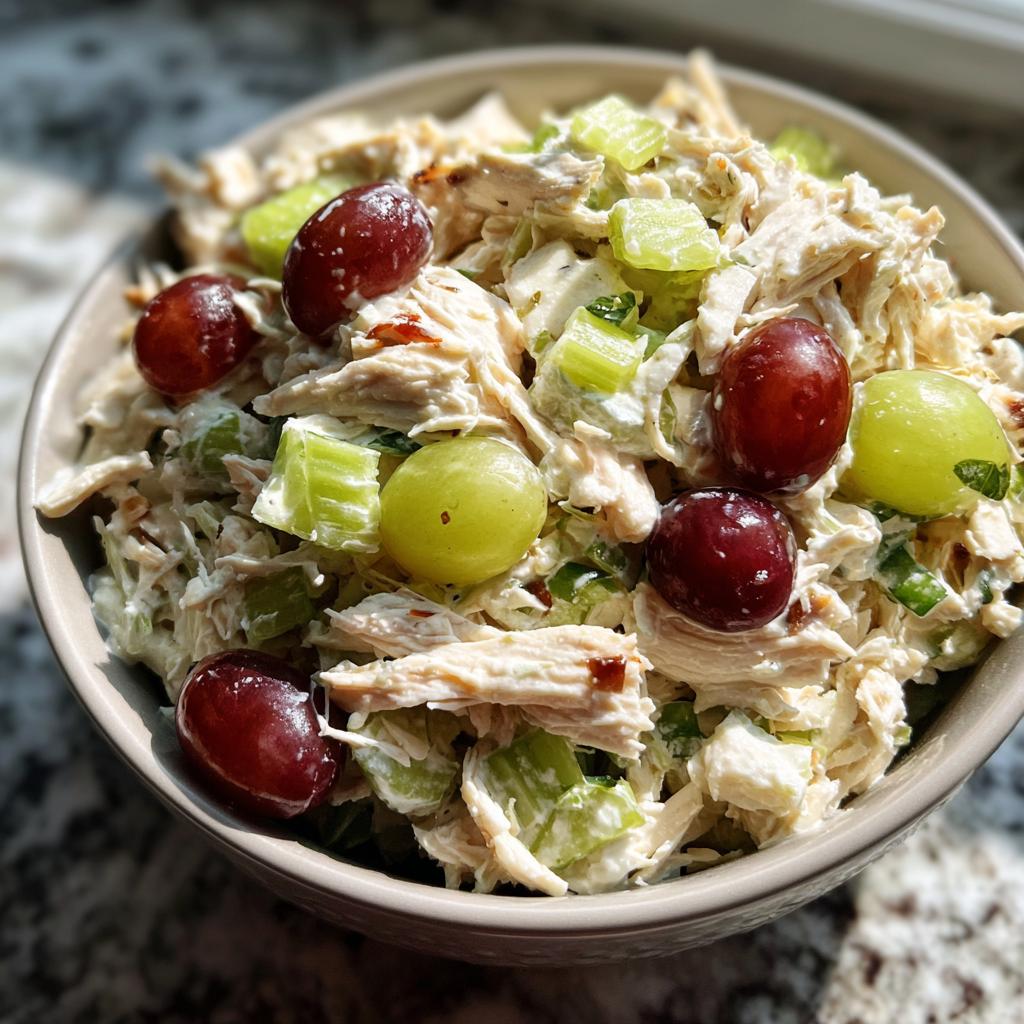
- 🥗 Chicken Salad: Chop the cooked chicken and mix it with Greek yogurt, diced celery, and grapes for a refreshing chicken salad. It’s perfect for a light lunch or a picnic!
- 🍽️ Chicken Sandwiches: Layer the sliced chicken on a bun with lettuce, tomato, and your choice of sauce. It’s a quick and satisfying meal that’s always a hit!
- 🍜 Chicken Stir-Fry: Cut the chicken into bite-sized pieces and toss it into a stir-fry with your favorite vegetables and sauce. It’s a quick and healthy dinner option that’s packed with flavor!
These creative serving ideas not only showcase the versatility of the Classic Air Fryer Chicken Breast but also allow you to enjoy it in different ways throughout the week. I love how one simple recipe can lead to so many delicious meals!
With these serving suggestions in mind, I can’t wait for you to try them out. Let’s move on to some tips that will help you achieve the perfect chicken every time!
Tips for Perfect Classic Air Fryer Chicken Breast
As I’ve cooked the Classic Air Fryer Chicken Breast countless times, I’ve learned a few tips and tricks that can make all the difference. Whether you’re a seasoned cook or just starting out, these insights will help you avoid common pitfalls and elevate your chicken game. Let’s dive into some common mistakes to avoid and exciting variations to try!
Common Mistakes to Avoid
Even the most passionate home cooks can make a few missteps along the way. Here are some common mistakes I’ve encountered and how to steer clear of them:
- 🧊 Skipping the Drying Step: I can’t stress enough how important it is to pat the chicken dry before seasoning. If you skip this step, you might end up with soggy chicken instead of that crispy exterior we all love.
- ⏰ Overcrowding the Air Fryer: It’s tempting to fit all the chicken in at once, but overcrowding can lead to uneven cooking. I always make sure to leave space between each piece to allow the hot air to circulate freely.
- 🌡️ Not Using a Meat Thermometer: Trust me, guessing the doneness of chicken can lead to disappointment. I always use my meat thermometer to ensure the chicken reaches 165°F (75°C). It’s the best way to guarantee juicy, perfectly cooked chicken!
- 🧂 Underseasoning: Don’t be shy with the seasoning! I’ve learned that a well-seasoned chicken makes all the difference. If you’re unsure, taste the seasoning mixture before adding the chicken to ensure it’s flavorful.
By avoiding these common mistakes, you’ll be well on your way to creating the perfect Classic Air Fryer Chicken Breast every time. It’s all about paying attention to the details!
Variations to Try
Now that you’ve mastered the basics, why not get a little adventurous? The beauty of the Classic Air Fryer Chicken Breast is its versatility. Here are some fun variations that I love to experiment with:
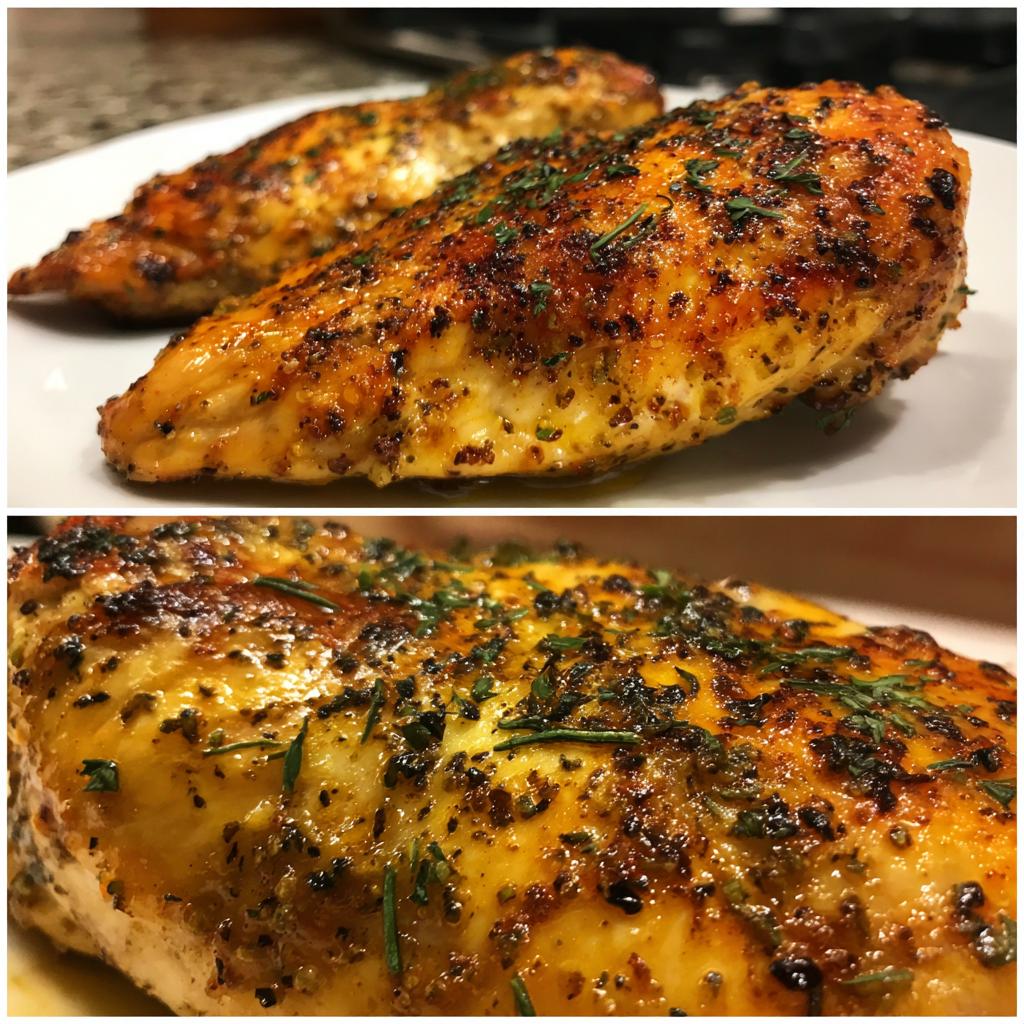
- 🌿 Herb-Infused Chicken: Instead of just garlic powder and paprika, try adding fresh or dried herbs like rosemary, thyme, or oregano. The aroma of herbs wafting through the kitchen is simply divine!
- 🍋 Citrus Zest: For a refreshing twist, add some lemon or lime zest to the seasoning mix. The citrus adds a bright flavor that pairs beautifully with the chicken.
- 🌶️ Spicy Kick: If you love heat, consider adding cayenne pepper or chili powder to the seasoning. It’s a great way to spice things up and add an extra layer of flavor!
- 🍯 Sweet and Savory: Mix in a tablespoon of honey or maple syrup for a sweet glaze. The combination of sweet and savory is always a crowd-pleaser!
These variations not only keep things exciting but also allow you to tailor the Classic Air Fryer Chicken Breast to your taste preferences. I love how a simple change can create a whole new dish!
With these tips and variations in your back pocket, you’re ready to take your air frying skills to the next level. Let’s move on to some frequently asked questions that can help clarify any lingering doubts!
FAQs about Classic Air Fryer Chicken Breast
How long does it take to cook Classic Air Fryer Chicken Breast?
When it comes to cooking the Classic Air Fryer Chicken Breast, timing is everything! Typically, it takes about 12-15 minutes at 375°F (190°C). However, the exact time can vary based on the thickness of your chicken breasts. I always recommend checking them at the 12-minute mark. If they’re not quite golden brown or haven’t reached the safe internal temperature of 165°F (75°C), pop them back in for a few more minutes. It’s like a little dance of patience, but trust me, it’s worth it for that juicy chicken!
Can I marinate Classic Air Fryer Chicken Breast?
Absolutely! Marinating the chicken is a fantastic way to infuse even more flavor into your Classic Air Fryer Chicken Breast. I often marinate mine in the seasoning mixture for about 30 minutes to a few hours before cooking. This not only enhances the taste but also helps keep the chicken moist. Just remember to pat it dry before seasoning and air frying to achieve that crispy exterior. It’s like giving your chicken a flavor vacation!
What temperature should I set my air fryer for Classic Air Fryer Chicken Breast?
The ideal temperature for cooking Classic Air Fryer Chicken Breast is 375°F (190°C). This temperature allows the chicken to cook evenly while developing that beautiful golden-brown crust. I find that this sweet spot gives me the best results every time. Just make sure to preheat your air fryer for about 5 minutes before adding the chicken. It’s like warming up before a big performance!
How do I know when Classic Air Fryer Chicken Breast is done?
To ensure your Classic Air Fryer Chicken Breast is perfectly cooked, I always rely on my trusty meat thermometer. The chicken is done when it reaches an internal temperature of 165°F (75°C). If you don’t have a thermometer, you can also cut into the thickest part of the chicken; the juices should run clear, and the meat should no longer be pink. It’s like a little test to make sure your hard work pays off with juicy, tender chicken!
Conclusion on Classic Air Fryer Chicken Breast
As I wrap up this culinary journey, I can’t help but feel a sense of satisfaction. The Classic Air Fryer Chicken Breast is more than just a recipe; it’s a delightful experience that brings joy to my kitchen and my family’s table. From the moment I pat the chicken dry to the final golden-brown result, every step is filled with anticipation and excitement.
Print
Classic Air Fryer Chicken Breast: Discover Juicy Perfection!
- Total Time: 25 minutes
- Yield: 4 servings
- Diet: Low Calorie
Description
A simple yet flavorful recipe for Classic Air Fryer Chicken Breast that delivers juicy, tender chicken with a crispy exterior.
Ingredients
- 🍗 Chicken Breasts: 4 pieces (about 1.5 lbs or 680 g)
- 🛢️ Olive Oil: 2 tablespoons
- 🧄 Garlic Powder: 1 teaspoon
- 🌶️ Paprika: 1 teaspoon
- 🧂 Salt: 1 teaspoon (or to taste)
- 🧂 Pepper: 1/2 teaspoon (or to taste)
Instructions
- Pat the chicken breasts dry with paper towels.
- In a large mixing bowl, combine olive oil, garlic powder, paprika, salt, and pepper. Add the chicken breasts and toss until evenly coated.
- Preheat the air fryer to 375°F (190°C) for about 5 minutes.
- Arrange the seasoned chicken breasts in a single layer in the air fryer basket. Cook for 12-15 minutes, flipping halfway through.
- Check the internal temperature with a meat thermometer; it should read 165°F (75°C). Let the chicken rest for 5 minutes before serving.
Notes
- Ensure the air fryer is not overcrowded for even cooking.
- Patting the chicken dry is crucial for achieving a crispy texture.
- Feel free to marinate the chicken for extra flavor before cooking.
- Prep Time: 10 minutes
- Cook Time: 15 minutes
- Category: Main Course
- Method: Air Frying
- Cuisine: American
Nutrition
- Serving Size: 1 chicken breast
- Calories: 220
- Sugar: 0g
- Sodium: 400mg
- Fat: 10g
- Saturated Fat: 1.5g
- Unsaturated Fat: 8.5g
- Trans Fat: 0g
- Carbohydrates: 0g
- Fiber: 0g
- Protein: 30g
- Cholesterol: 90mg
Keywords: Air Fryer, Chicken Breast, Easy Recipe, Healthy Cooking