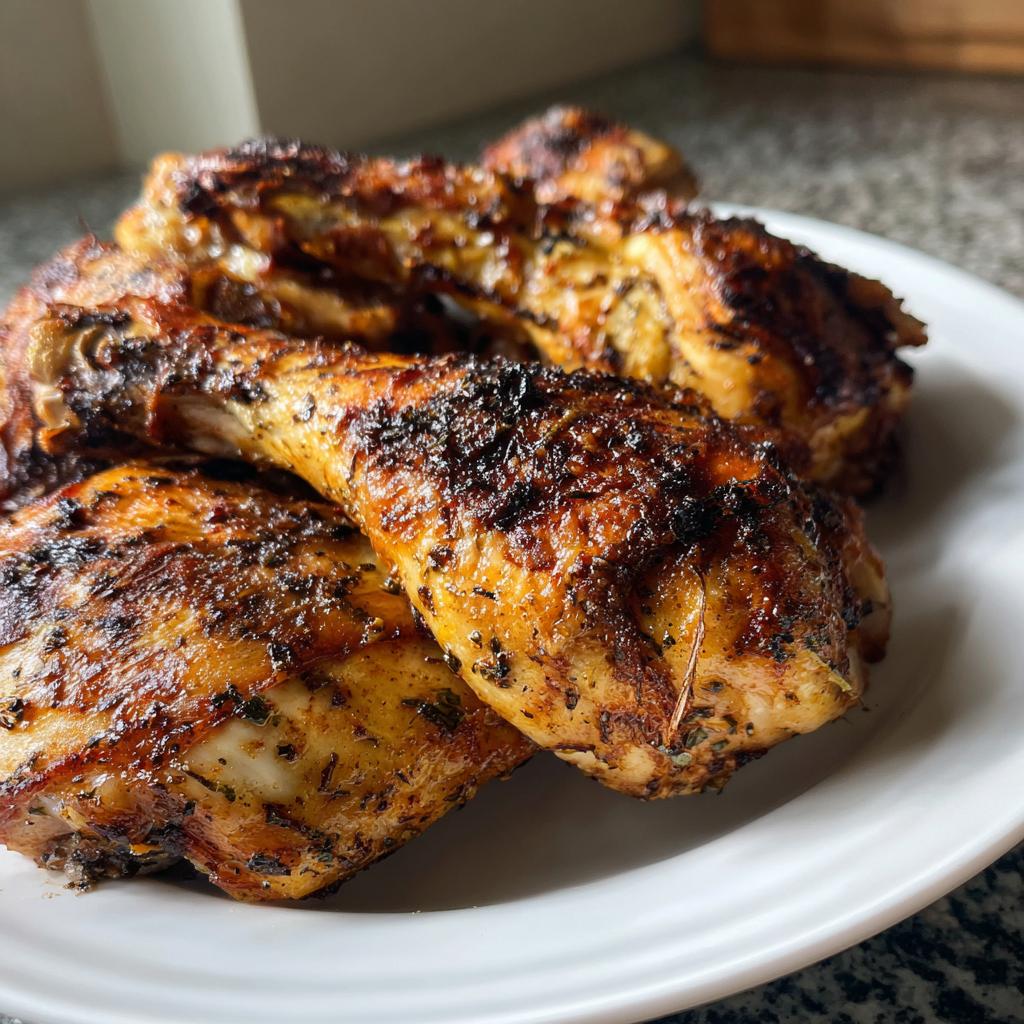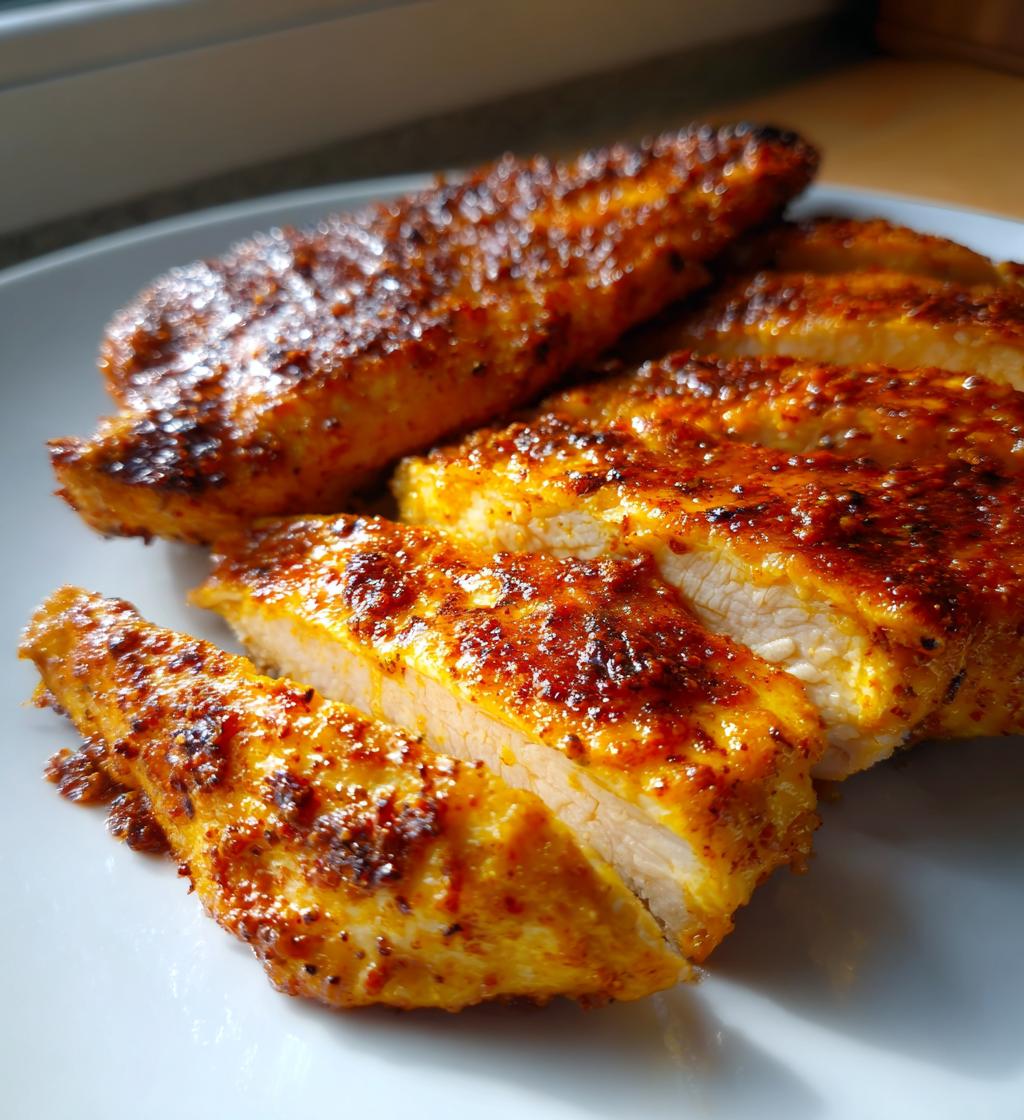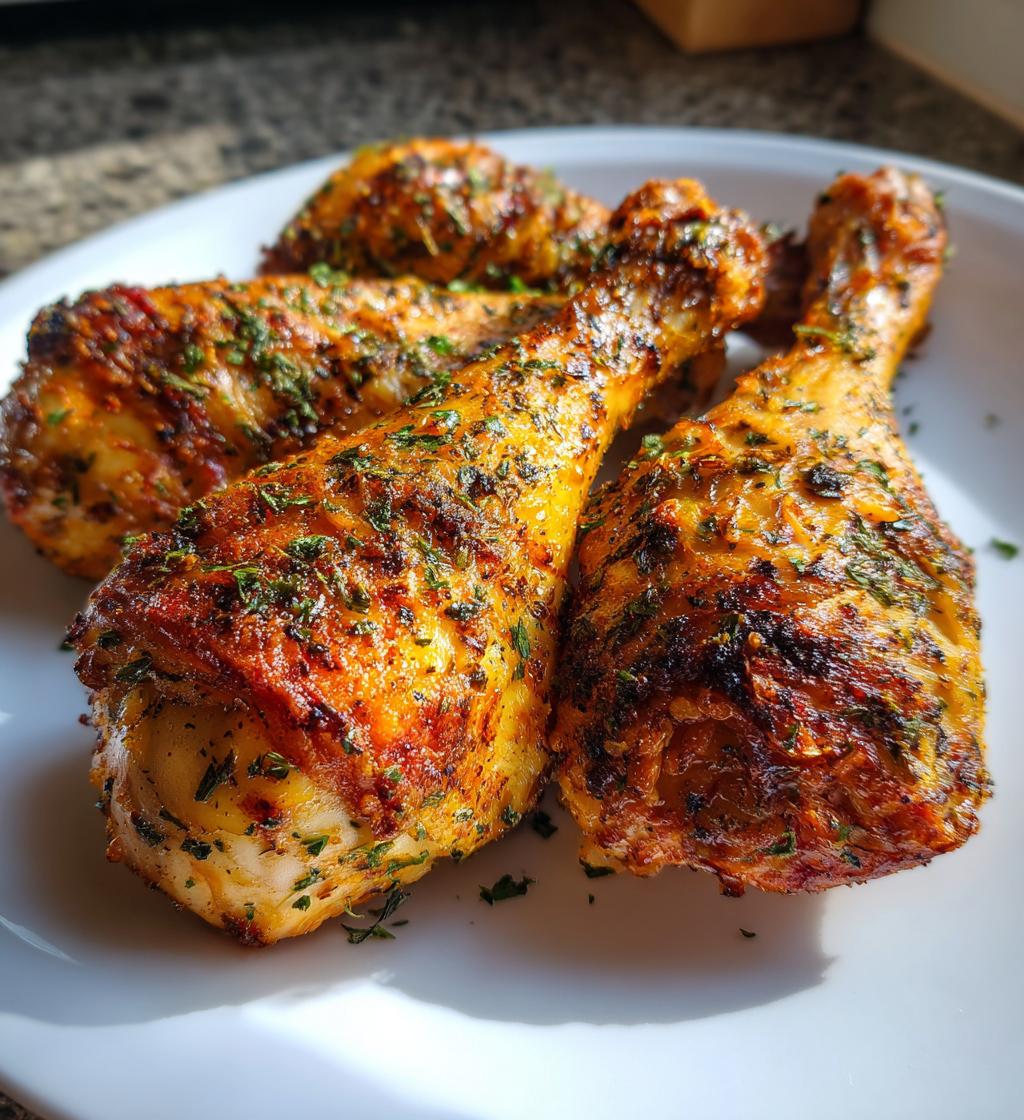
Let me tell you, spatchcock chicken cooked in the oven is an absolute game changer! It’s one of those recipes that makes you feel like a culinary rock star without needing years of experience. I mean, who doesn’t love a juicy, crispy chicken that’s ready in about an hour? The spatchcock technique not only helps the chicken cook evenly, but it also cuts down on the cooking time, which is a win-win in my book! It’s become a weekly staple in my household, and my family can’t get enough of that golden, crispy skin paired with tender meat. Honestly, when the aroma of roasting chicken fills the kitchen, it feels like a warm hug. Trust me, once you try this method, you’ll be hooked! Whether it’s for a cozy weeknight dinner or a weekend feast, this spatchcock chicken oven recipe will quickly become one of your favorites too!
Ingredients List
Let’s get everything ready for this delicious spatchcock chicken! Here’s what you’ll need:
- 1 whole chicken (about 4-5 lbs) – Look for a fresh chicken; I prefer free-range for better flavor.
- 2 tablespoons olive oil – Extra virgin is my go-to, but any good quality olive oil will work.
- 1 tablespoon salt – This is essential for flavor, so don’t skimp on it!
- 1 teaspoon black pepper – Freshly ground black pepper adds a nice kick.
- 1 teaspoon garlic powder – A must for that savory depth.
- 1 teaspoon paprika – This gives a lovely color and a hint of sweetness.
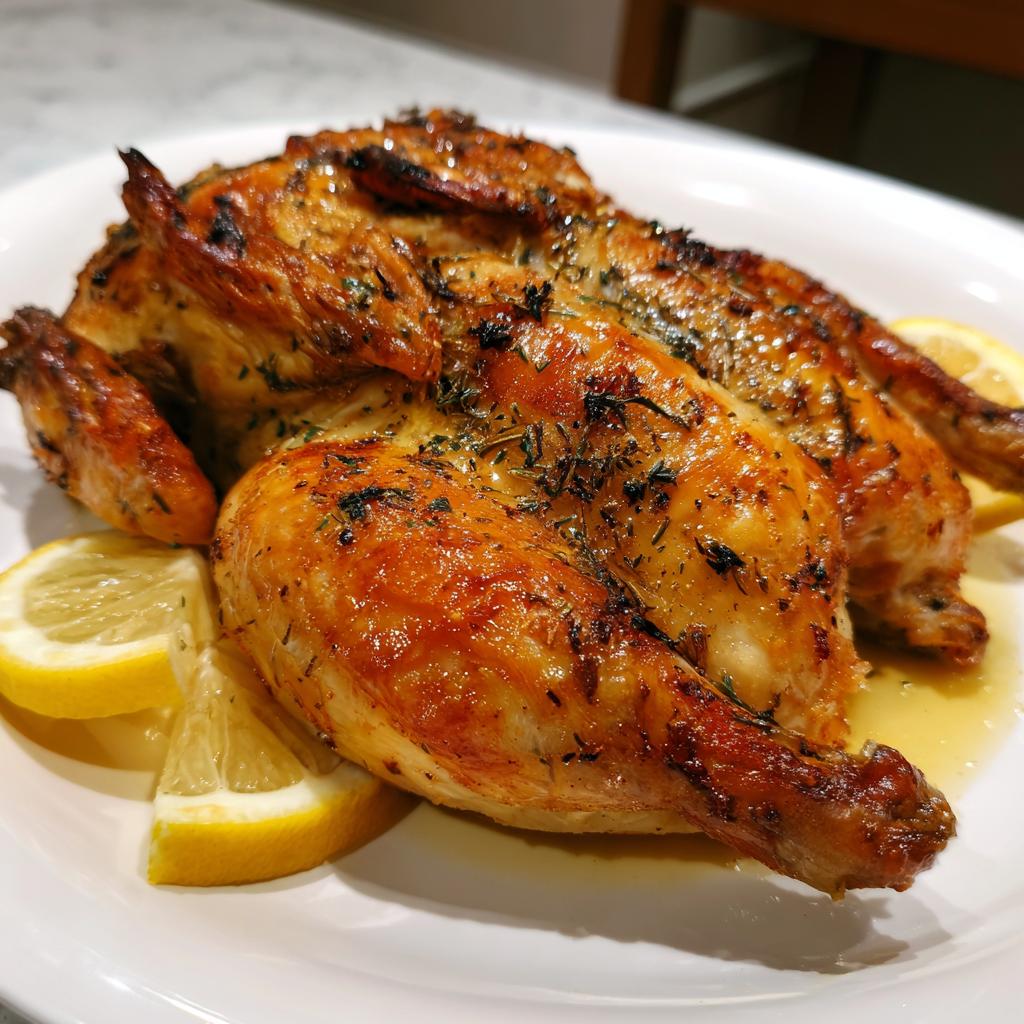
- 1 lemon (juiced) – Fresh lemon juice brightens everything up and enhances the flavor.
Make sure to have everything prepped and ready before you start cooking. It makes the process smoother and more enjoyable! Trust me, having all your ingredients together will make you feel like a pro in no time.
How to Prepare Instructions
Preheat the Oven
First things first, you’ll want to preheat your oven to 450°F (232°C). This high temperature is crucial for achieving that perfectly crispy skin while keeping the inside juicy. Don’t skip this step; a hot oven helps seal in moisture and gives you that golden brown color we all crave. While your oven heats up, you can get your chicken ready!
Prepare the Chicken
Now, let’s get to the fun part—spatchcocking the chicken! Place the chicken breast-side down on a cutting board. Grab your kitchen shears and cut along both sides of the backbone to remove it. This technique might sound intimidating, but I promise it’s easier than it looks! Once the backbone is out, flip the chicken over and press down firmly on the breastbone until you hear a satisfying crack. This flattens the chicken and helps it cook evenly. It might take a little muscle, but it’s so worth it!
Seasoning the Chicken
Next up, it’s time to flavor this beauty! Drizzle the olive oil all over the chicken, making sure to cover every inch. Then sprinkle the salt, black pepper, garlic powder, and paprika evenly across the surface. Don’t be shy—really rub those spices into the skin for maximum flavor! Finally, squeeze the juice of one lemon over the top. The lemon adds brightness and helps balance the richness of the chicken.
Roasting the Chicken
Place your beautifully seasoned chicken on a baking sheet, fillet-side up, and pop it in the oven. Roast it for about 45-50 minutes. You’ll want to check for doneness by inserting a meat thermometer into the thickest part of the thigh; it should read 165°F (74°C). This is where the magic happens, and your kitchen will smell incredible!
Resting and Serving
Once it’s cooked, resist the urge to dive in right away! Let the chicken rest for about 10 minutes before slicing. This resting period is essential because it allows the juices to redistribute, making every bite juicy and tender. Trust me, it’s worth the wait!
Why You’ll Love This Recipe
- Quick Preparation: With just a little prep and about an hour in the oven, you can have a stunning meal on the table without spending all day in the kitchen.
- Juicy Results: The spatchcock technique ensures the chicken cooks evenly, resulting in juicy meat that’s packed with flavor.
- Crispy Skin: That high-temperature roasting creates beautifully crispy skin that’s irresistible. Seriously, it’s the kind of skin you’ll want to savor!
- Family-Friendly: This dish is a hit with everyone—kids and adults alike. It’s perfect for family dinners, casual get-togethers, or even meal prep for the week!
Tips for Success
Ready to take your spatchcock chicken to the next level? Here are some pro tips I’ve picked up along the way that will help you achieve perfection:
- Marinate for More Flavor: If you have a little extra time, consider marinating the chicken for a few hours or even overnight. A simple marinade of olive oil, lemon juice, garlic, and herbs can infuse the meat with amazing flavor and tenderness.
- Use Quality Kitchen Tools: Invest in a good pair of kitchen shears for spatchcocking; they make the process so much easier and safer. Also, a reliable meat thermometer is essential for ensuring your chicken is cooked to perfection.
- Let the Chicken Come to Room Temperature: Before cooking, let the chicken sit at room temperature for about 30 minutes. This helps it cook more evenly, ensuring that the inside is as juicy as the outside.
- Experiment with Seasonings: Don’t be afraid to get creative with your spices! Try adding fresh herbs like rosemary or thyme, or even a touch of cayenne for a little heat. Each variation can bring a new twist to this classic recipe.
- Check the Oven Temperature: Ovens can vary, so it’s a good idea to check that your oven is actually reaching 450°F (232°C). An oven thermometer can help you ensure you’re baking at the right temperature for that perfect crispy skin.
With these tips, you’ll be well on your way to mastering the art of spatchcock chicken in the oven. Enjoy the process, and happy cooking!
Nutritional Information Section
Now, let’s talk about the nutritional side of this mouthwatering spatchcock chicken! Here’s a rough estimate of what you can expect per serving (about 1/4 of the chicken):
- Calories: 350
- Fat: 20g
- Saturated Fat: 5g
- Unsaturated Fat: 15g
- Trans Fat: 0g
- Protein: 35g
- Carbohydrates: 0g
- Fiber: 0g
- Sugar: 0g
- Sodium: 800mg
- Cholesterol: 100mg
Keep in mind that these values are estimates and can vary based on the specific chicken you use and any additional ingredients you might add. It’s always a good idea to check the packaging for more accurate information. Enjoy this flavorful dish while keeping an eye on those numbers, and remember, it’s all about balance!
FAQ Section
Got questions about making spatchcock chicken in the oven? Don’t worry, I’ve got you covered! Here are some of the most common queries I’ve encountered, along with my answers:
Can I use a frozen chicken for this recipe?
It’s best to use a fresh chicken for spatchcocking. If you have a frozen one, make sure to thaw it completely in the fridge for 24 hours before you attempt to cut it. Spatchcocking a frozen chicken can be tricky and unsafe.
What if I don’t have kitchen shears?
No kitchen shears? No problem! A sharp chef’s knife can do the trick as well. Just be careful while cutting along the backbone, and take your time to ensure you get a clean cut. Safety first, always!
Can I add different spices or herbs?
Absolutely! This recipe is super versatile. Feel free to experiment with your favorite spices or fresh herbs. Rosemary, thyme, or even a dash of cayenne pepper can add a unique twist to the flavor. Just remember to keep the seasoning balanced!
How do I store leftovers?
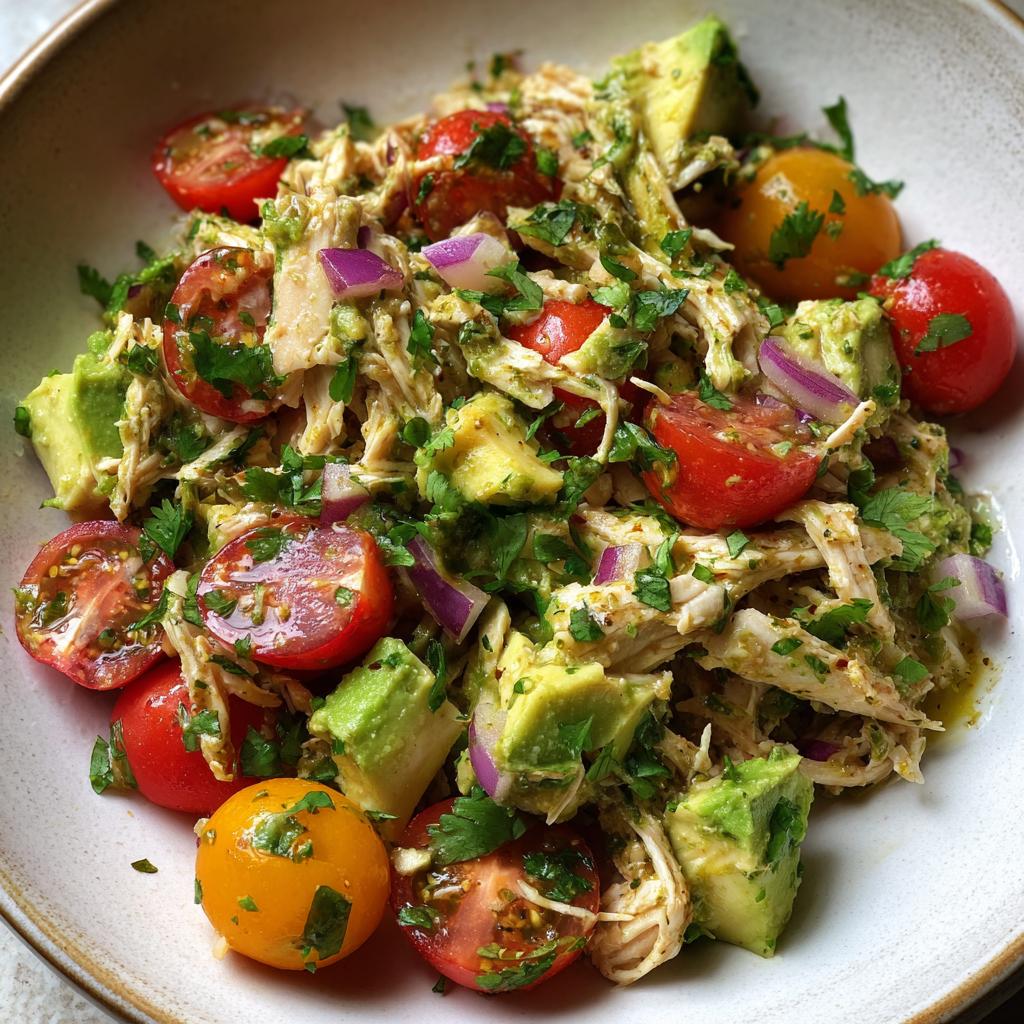
If you have any leftover chicken (which is rare, but it happens!), let it cool completely before storing it in an airtight container in the fridge. It should be good for about 3-4 days. You can also shred the meat and use it in salads, sandwiches, or soups!
Can I cook spatchcock chicken on a grill?
Yes, you can! Grilling spatchcock chicken is a fantastic way to achieve that smoky flavor. Just make sure to set up your grill for indirect heat to cook it evenly. It might take a little longer than in the oven, but the results are delicious!
What should I serve with spatchcock chicken?
Pair it with your favorite sides! I love serving it with roasted vegetables, a fresh salad, or creamy mashed potatoes. You can even whip up some garlic bread to soak up those delicious juices!
With these answers, I hope you feel even more confident about making your spatchcock chicken in the oven. Happy cooking!
Serving Suggestions
Now that you’ve got your delicious spatchcock chicken ready, let’s talk about what to serve alongside it for a complete and satisfying meal! There’s something special about pairing the juicy, crispy chicken with sides that complement its flavors. Here are some of my favorite suggestions:
- Roasted Vegetables: A medley of seasonal veggies like carrots, Brussels sprouts, and sweet potatoes tossed in olive oil and herbs makes for a colorful and nutritious side. Roasting them alongside the chicken maximizes flavors!
- Garlic Mashed Potatoes: Creamy, buttery mashed potatoes infused with garlic are a classic choice. They soak up all those delicious juices from the chicken, and who can resist that?
- Fresh Green Salad: A crisp salad with mixed greens, cherry tomatoes, cucumbers, and a light vinaigrette adds a refreshing contrast to the rich chicken. It’s a great way to balance the meal!
- Macaroni and Cheese: For a comforting twist, serve up some creamy macaroni and cheese. The cheesy goodness pairs perfectly with the savory chicken, making it a hit with the whole family.
- Garlic Bread: Some crusty garlic bread is perfect for mopping up any leftover juices on your plate. It’s a simple addition that adds a lot to the meal!
Feel free to mix and match based on what your family loves or whatever you have on hand. You can’t go wrong with these sides when serving your spatchcock chicken oven masterpiece. Enjoy your meal!
Print
Spatchcock Chicken Oven: 7 Steps to Crispy Perfection
- Total Time: 1 hour 5 minutes
- Yield: 4 servings 1x
- Diet: Gluten Free
Description
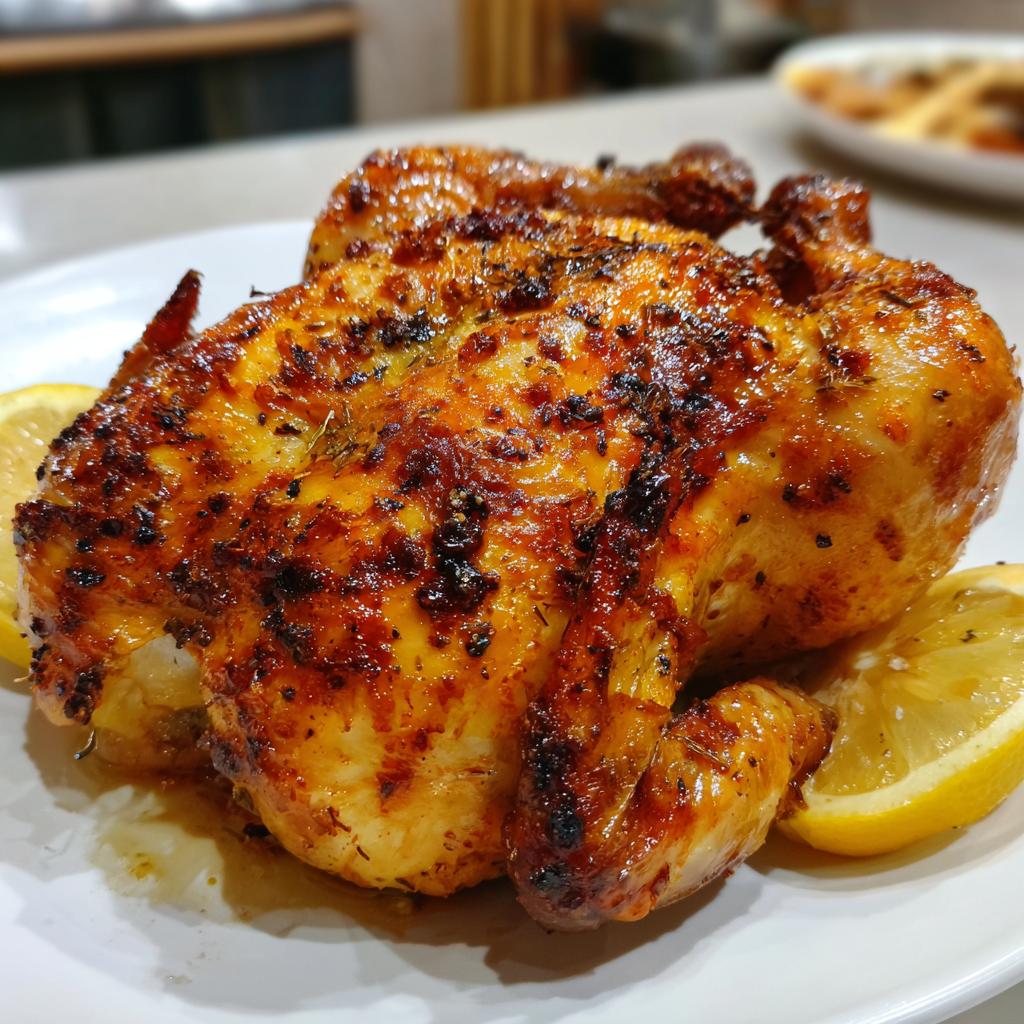
Spatchcock chicken cooked in the oven for a juicy and crispy result.
Ingredients
- 1 whole chicken (about 4–5 lbs)
- 2 tablespoons olive oil
- 1 tablespoon salt
- 1 teaspoon black pepper
- 1 teaspoon garlic powder
- 1 teaspoon paprika
- 1 lemon (juiced)
Instructions
- Preheat your oven to 450°F (232°C).
- Place the chicken fillet-side down on a cutting board.
- Using kitchen shears, cut along both sides of the backbone and remove it.
- Flip the chicken over and press down on the fillet to flatten it.
- Rub olive oil, salt, pepper, garlic powder, and paprika all over the chicken.
- Squeeze lemon juice over the top.
- Place the chicken on a baking sheet and roast for 45-50 minutes.
- Check for doneness; the internal temperature should reach 165°F (74°C).
- Let it rest for 10 minutes before slicing.
Notes
- For extra flavor, marinate the chicken for a few hours before cooking.
- Pair with your favorite sides for a complete meal.
- Use a meat thermometer for accurate cooking.
- Prep Time: 15 minutes
- Cook Time: 50 minutes
- Category: Main Dish
- Method: Roasting
- Cuisine: American
Nutrition
- Serving Size: 1/4 chicken
- Calories: 350
- Sugar: 0g
- Sodium: 800mg
- Fat: 20g
- Saturated Fat: 5g
- Unsaturated Fat: 15g
- Trans Fat: 0g
- Carbohydrates: 0g
- Fiber: 0g
- Protein: 35g
- Cholesterol: 100mg
Keywords: spatchcock chicken oven, roasted chicken, easy chicken recipe